
 Save
Save
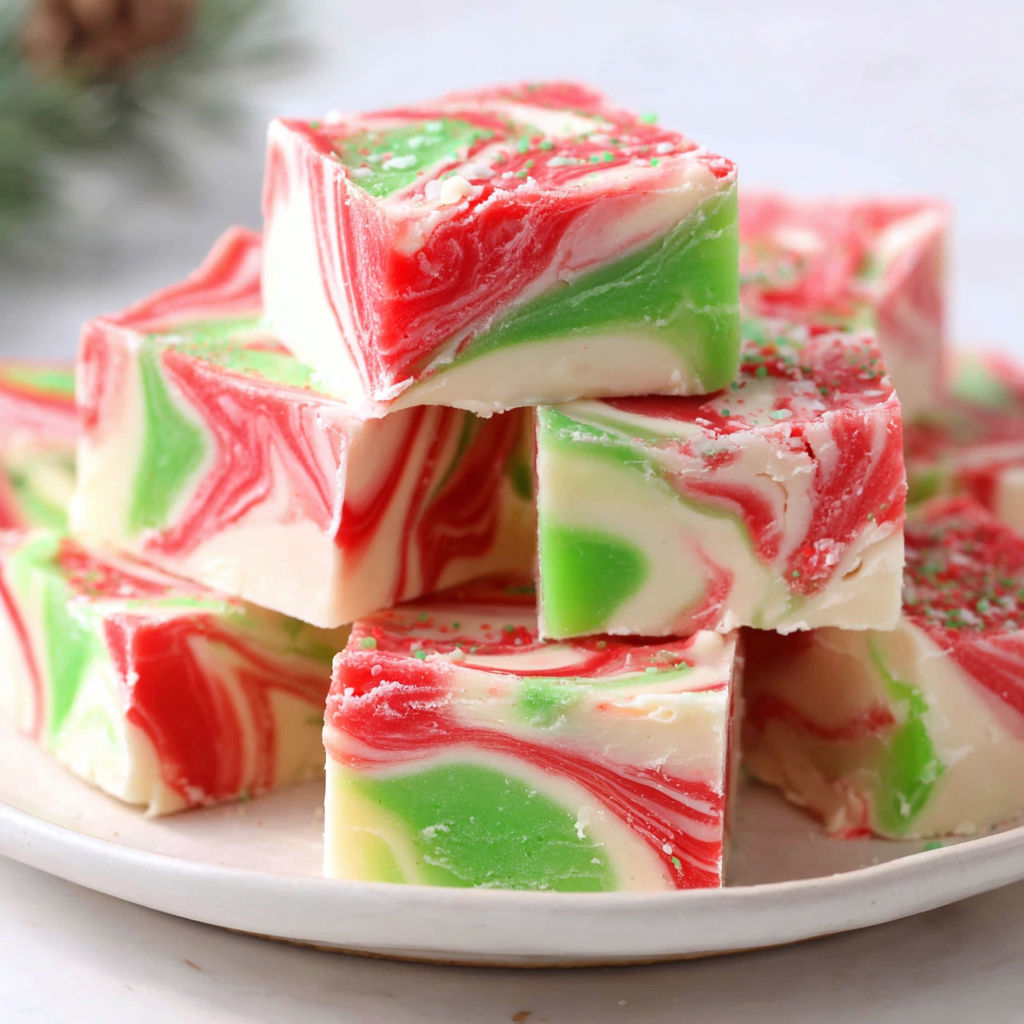
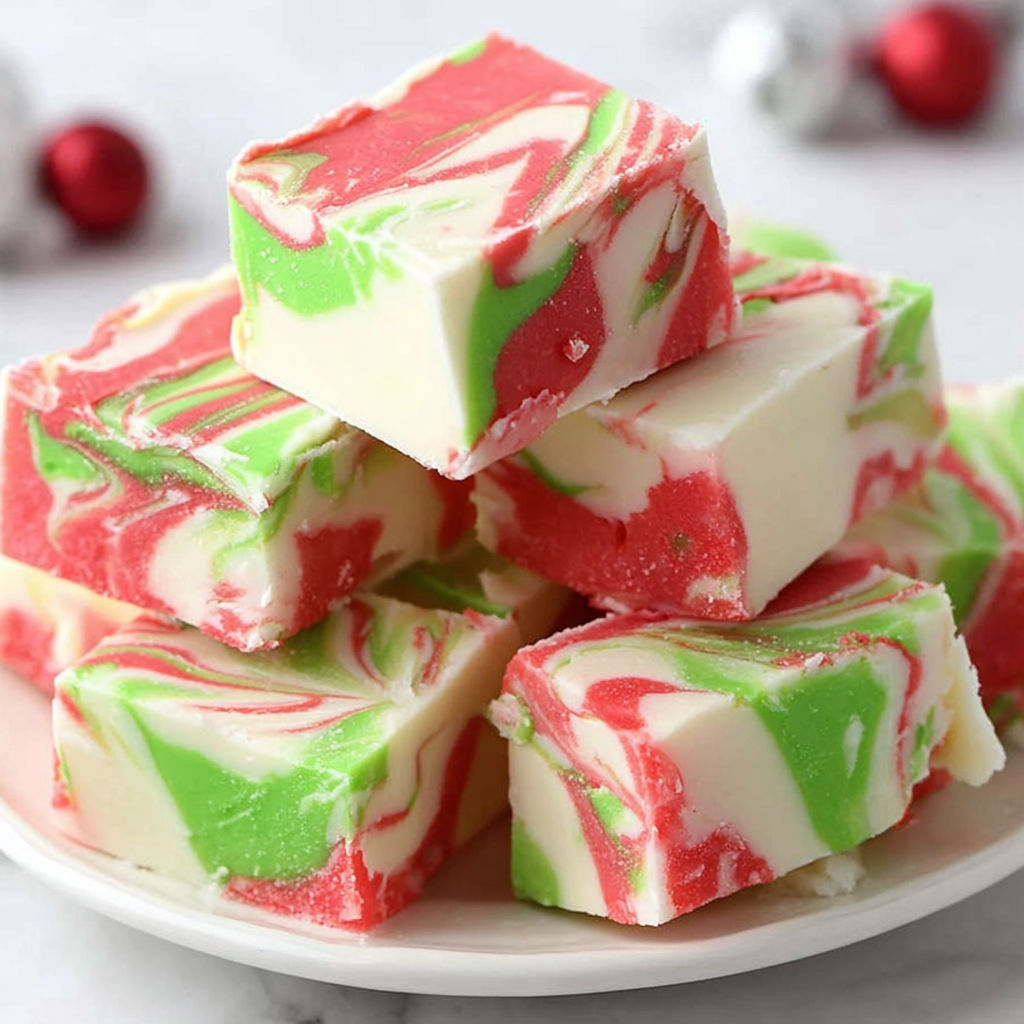
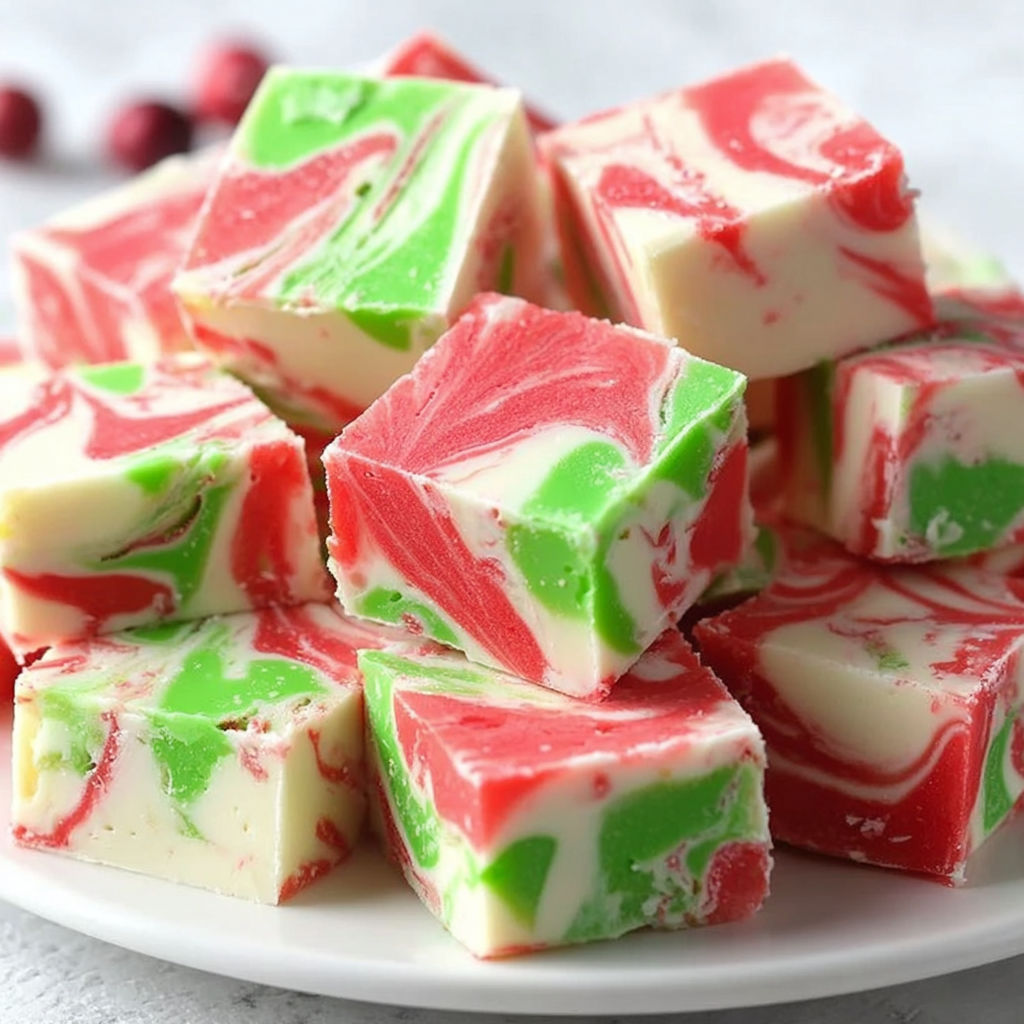
This Christmas fudge is a festive treat that blends creamy white chocolate with vibrant swirls of red and green. It is perfect for holiday gatherings, gifting, or simply enjoying a seasonal sweet at home. The smooth texture and colorful presentation always make it a standout on dessert tables during December.
I first made this fudge for a family Christmas party, and it quickly became a tradition. Everyone loves how cheerful and creamy it is, and it’s one of the few sweets my kids truly wait all year to have again.
Ingredients
- White chocolate chips: smooth, creamy base choose a high quality brand like Ghirardelli for best taste
- Sweetened condensed milk: adds sweetness and richness opt for a good canned variety without additives
- Unsalted butter: enhances creaminess and mouthfeel use cold cubes to help control melting speed
- Red gel food coloring: vibrant color gel is best as it doesn’t affect texture or flavor
- Green gel food coloring: same as red use sparingly to achieve the perfect shade
Instructions
- Line the baking pan:
- Line an 8x8 inch straight sided baking pan with parchment paper. Make sure the parchment extends over the edges to lift the fudge out easily once set.
- Melt the base ingredients:
- In a medium saucepan over medium low heat, add the white chocolate chips, sweetened condensed milk, and cold cubes of unsalted butter. Stir constantly for 4 to 6 minutes until everything is melted and the mixture is smooth. Remove the pan from the heat promptly to avoid burning.
- Divide and color the mixture:
- Transfer one third of the melted fudge base to a small bowl and add the red gel food coloring starting with a quarter teaspoon. Stir until there are no white streaks and color spreads evenly. Repeat this with another third of the mixture, adding green gel food coloring this time. The remaining third stays white.
- Assemble and swirl:
- Spoon dollops of white, red, and green fudge randomly into the prepared pan. Use a wooden skewer or butter knife to swirl the colors together gently, making a decorative marble pattern.
- Smooth the surface:
- Place a small piece of parchment on top of the fudge and gently press to smooth the surface. Be careful to preserve the swirl pattern while doing this.
- Chill until firm:
- Refrigerate the fudge for 2 to 3 hours or until completely set.
- Cut and serve:
- Remove the fudge from the refrigerator. Lift it from the pan using the parchment overhang and place it on a cutting board. Slice into 64 equal one inch pieces and serve.
My favorite ingredient is the sweetened condensed milk as it transforms plain white chocolate into a luscious, creamy fudge. One Christmas, I forgot to refrigerate the fudge before a party and had to explain the gooey mess to everyone. That year taught me the importance of patience and chilling!
Storage tips
Store your fudge in an airtight container in the refrigerator for up to two weeks. If you want to keep it fresh longer, freeze it wrapped tightly in plastic wrap inside a freezer-safe container. Let it thaw in the fridge before serving.
Ingredient substitutions
If you cannot find white chocolate chips, you can chop good quality white chocolate bars instead. Coconut milk condensed milk works as a dairy-free alternative but expect a slightly different texture. Food coloring can be swapped with natural options like beet juice powder for red and matcha powder for green, though colors will be more muted.
Serving suggestions
This fudge pairs wonderfully with hot beverages like coffee, tea, or a warm cup of cocoa. Consider serving it alongside other holiday candies or with fresh cranberries for a tart contrast. It also makes great edible gifts when wrapped in festive paper.
This festive fudge combines ease and tradition to brighten any holiday table. Enjoy customizing it to make your seasonal celebrations unforgettable.
FAQs about Recipes
- → What type of chocolate works best?
White chocolate chips, preferably high-quality brands like Ghirardelli, melt evenly and provide a smooth texture.
- → How do I achieve vibrant red and green colors?
Use gel food coloring starting with a small amount, then adjust until desired vibrant hues are reached without affecting texture.
- → Why is parchment paper used in the pan?
Parchment paper allows easy lifting of the set sweet from the pan, ensuring clean slices and less sticking.
- → Can I swirl the colors more or less?
Yes, gently swirling with a skewer or knife controls the intensity of the decorative patterns for a personalized look.
- → How long should it chill before cutting?
Refrigerate for 2-3 hours until firm, ensuring clean cutting and proper texture for serving.