
 Save
Save
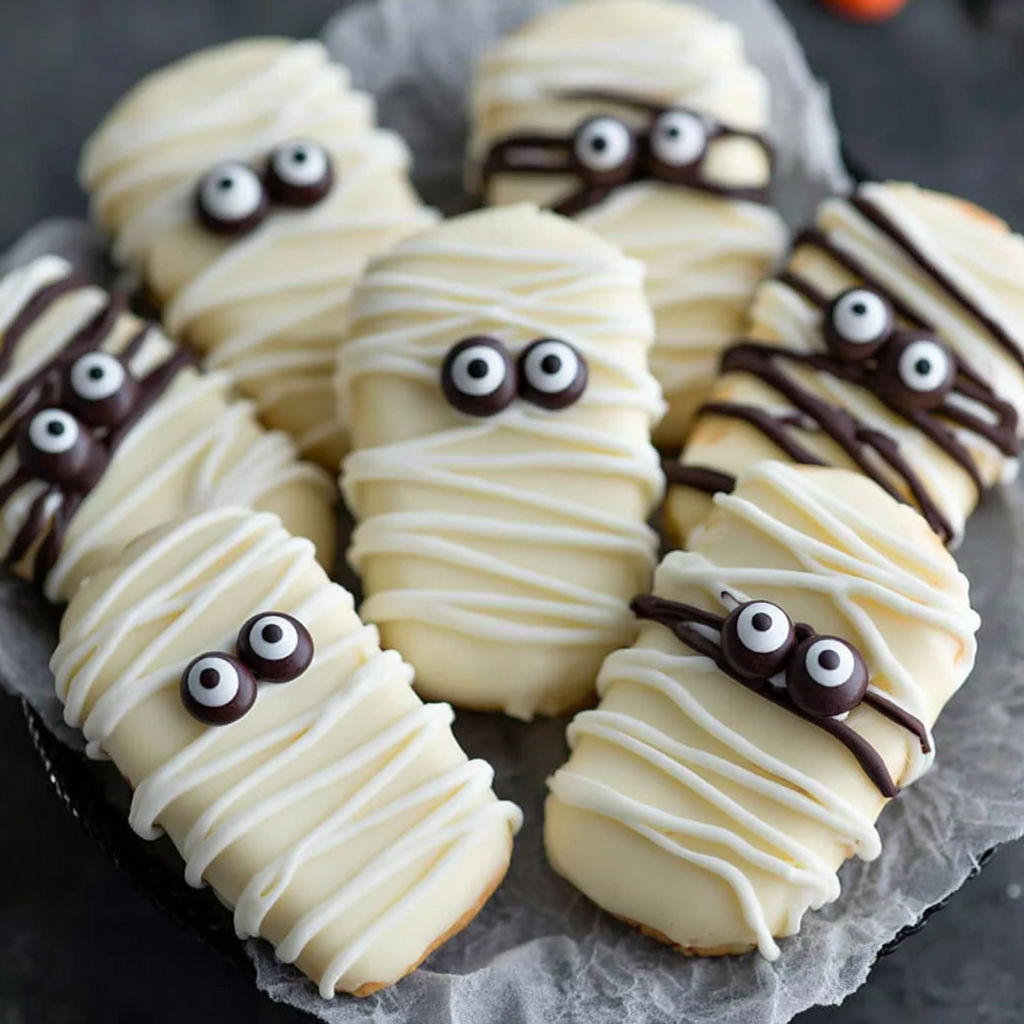
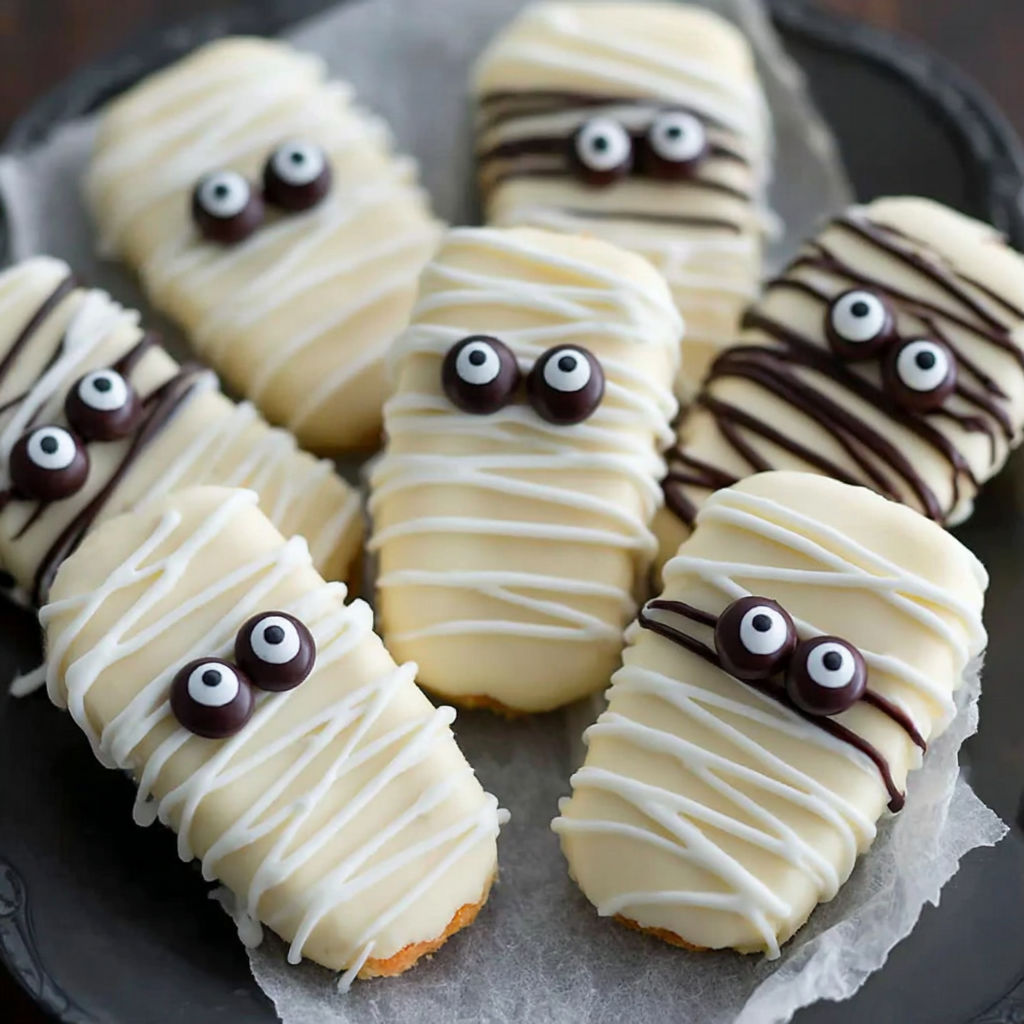
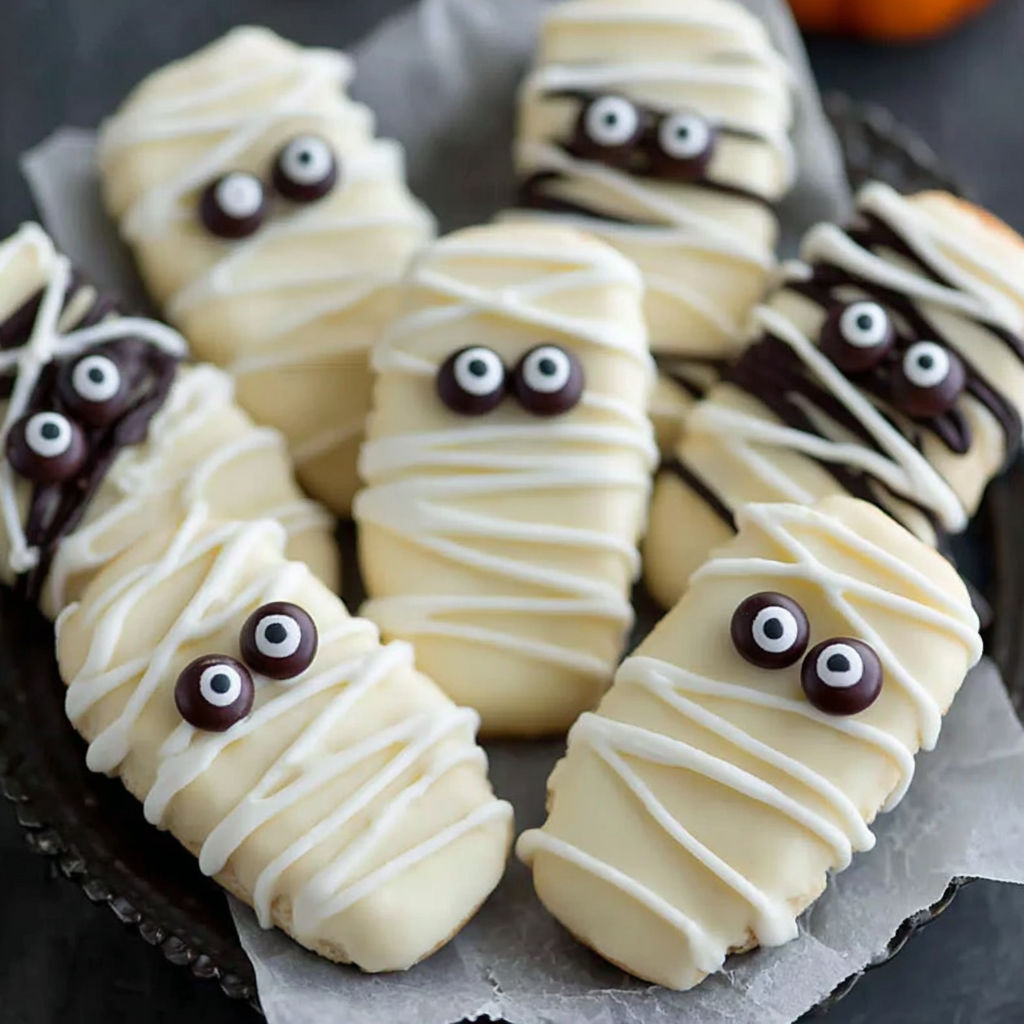
These Mummy Halloween Cookies are my go to treat when I want something playful for a party or to bring a smile to my kids’ faces at Halloween. With Vienna Fingers cookies coated in creamy white candy and colorful mini M&M eyes, they come together fast and always get gasps and giggles.
The first time I made these was for my daughter’s school party and I barely got a chance to open the lid before a dozen little hands reached for them. They are now a yearly request and an October staple for our family.
Ingredients
- Vienna Fingers vanilla cookies: Give the perfect base with a crisp bite and soft cream center. Choose a fresh package with no visible cracks so the coating goes on smooth
- White candy coating: Provides a sweet silky layer with a professional finish. Look for brands that melt evenly and have a vanilla scent
- Mini M&Ms: Make bright friendly eyes that kids instantly recognize. Check the package to pick out a mix of colors for extra fun
- Waxed paper: Used for setting the dipped cookies and makes cleanup a breeze
Instructions
- Melting the Candy Coating:
- Melt white candy coating by following the instructions on your package. For most brands microwave the wafers at half power for thirty second bursts stirring gently each time. The result should be completely smooth without any lumps so the coating glides over the cookies
- Coating the Cookies:
- Use a fork to gently lower a Vienna Finger into the melted candy coating lifting to shake off excess. Make sure all sides are thoroughly covered. Place each coated cookie onto waxed paper giving enough space so they do not stick together
- Setting the Coating:
- Transfer all coated cookies to the refrigerator and chill for about thirty minutes or let stand at room temp until the coating is set and no longer sticky. This helps the drizzle design grip
- Drizzling and Decorating:
- Melt a little more white candy coating and transfer it into a plastic bag. Snip a tiny piece off the corner to create a homemade piping bag. Then drizzle in jagged overlapping lines across each cookie to mimic unraveling mummy wraps. Quickly add two mini M&Ms for eyes while the drizzle is still wet so they stick
- Final Setting:
- Let all the finished cookies stand until the drizzle hardens into place typically about fifteen to thirty minutes. Once firm they are ready to eat serve or pack up for parties
When we make these together we always end up giggling at the goofy expressions from the mini M&M eyes.
Storage Tips
After the cookies are set store them in an airtight container at room temperature. They stay fresh for two weeks. If you want to save them for later just pop the solidified cookies into a zip bag in the freezer. Thaw at room temperature before serving for best texture. Keep them out of humid spots to avoid any stickiness.
Ingredient Substitutions
If you cannot find Vienna Fingers you can use any vanilla sandwich cookie with a firm texture avoid soft cookies as they may break in the coating. Any smooth white chocolate or almond bark works well for the candy layer. Allergy friendly chocolate candies can be swapped for mini M&Ms when needed.
Serving Suggestions
Serve these cookies as part of a Halloween dessert table arrange them upright in a basket to show off their faces or package two or three together in clear treat bags as party favors. Kids love personalizing their own mummy eyes with extra drizzles or funky colored candies.
Cultural and Holiday Connection
Mummy cookies are inspired by the playful spirit of Halloween when spooky should be fun not scary. Offering a hands on activity in the kitchen these cookies make decorating as memorable as eating them. October weekends never feel complete without a baking day for these with the kids and some spooky music.
Seasonal Adaptations
Use orange candy melts for the drizzle if you want a pumpkin colored twist. Swap mini M&M eyes for candy eyeballs for a humorous look. Pair these with other decorated treats like spider cupcakes for a full Halloween platter.
Success Stories
Friends have told me their kids now ask for mummy cookies every single year at school events. Kids especially love helping with the messy drizzle step and picking their favorite M&M colors for the eyes.
Freezer Meal Conversion
Mummy cookies freeze surprisingly well. Cool them completely then layer between sheets of parchment in a freezer container or bag. Thaw uncovered at room temperature to return them to the perfect texture with crisp coating.
These playful cookies are sure to light up any Halloween table. Their whimsical decorations will bring smiles to both kids and adults alike.
FAQs about Recipes
- → What cookies are best for this treat?
Vienna Fingers vanilla cookies are ideal for these Mummy Halloween Cookies, thanks to their sturdy structure and classic flavor.
- → How do you melt white candy coating?
Melt the coating in the microwave at half power in 30-second bursts, in a saucepan over low heat, or gently in a double boiler.
- → How do you achieve the mummy effect?
After dipping, drizzle extra melted candy over the cookies in a zigzag pattern to mimic mummy bandages, and add mini M&M eyes.
- → How can you store these cookies?
Store in an airtight container for up to 2 weeks at room temperature or freeze for up to 4 months for longer storage.
- → Can I use a different type of cookie?
You can substitute with any similar sandwich cookie, but vanilla sandwich cookies give the best flavor and look for mummies.
- → Is it necessary to chill the cookies between steps?
Chilling ensures the candy coating sets quickly, preventing smudging and making decorating easier and neater.