
 Save
Save
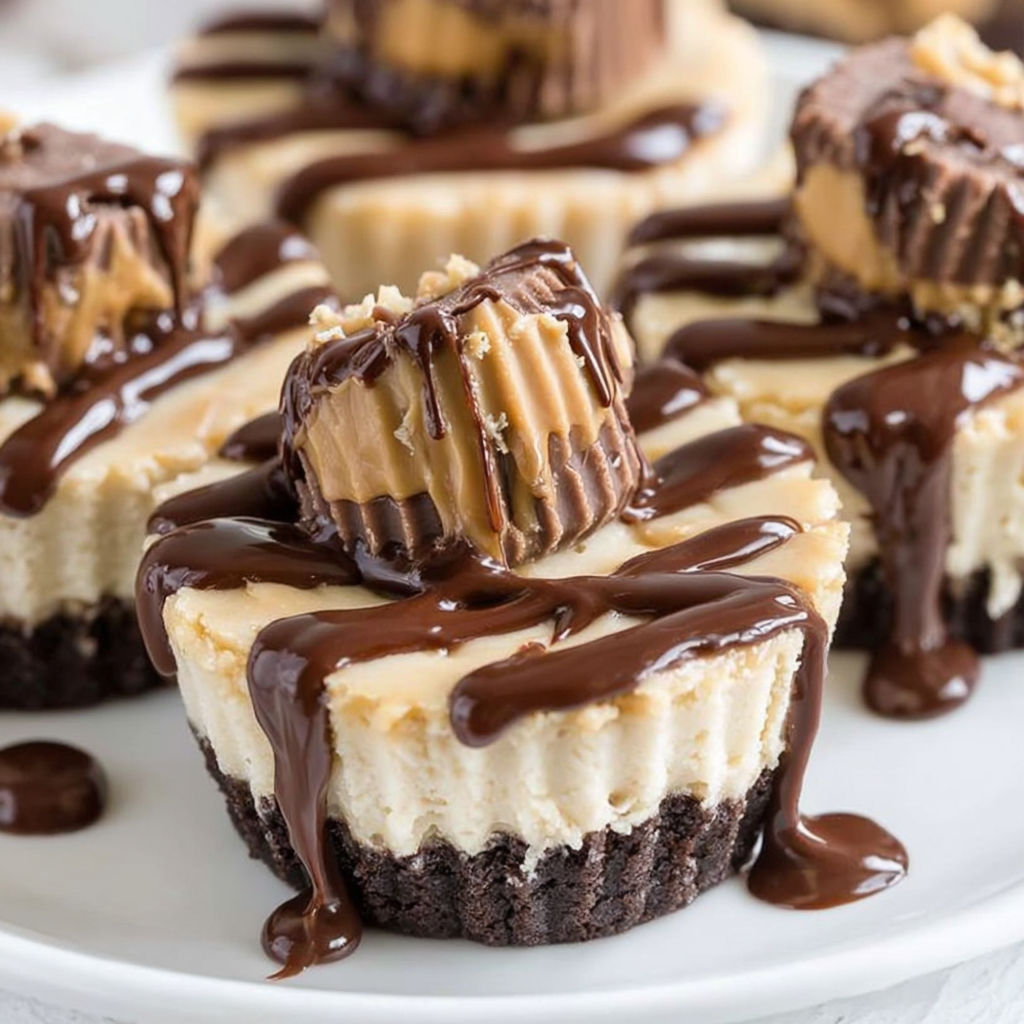
These mini peanut butter cheesecakes are a delightful treat combining the creamy texture of cheesecake with the rich flavor of peanut butter and the classic sweetness of Reese’s peanut butter cups. Perfect for parties or a simple indulgent dessert, they come together with a few easily found ingredients and offer a satisfying balance of sweet and salty.
I first shared these at a family gathering and they disappeared within minutes. Now they’re a go-to for any celebration or when I need a quick festive dessert fix.
Ingredients
- Standard-sized Reese’s peanut butter cups: form the base and add that iconic peanut butter and chocolate bite
- Cream cheese softened to room temperature: makes the filling smooth and creamy, easier to whip up
- Creamy peanut butter, such as Skippy: for rich peanut flavor and smooth texture
- Powdered sugar sifted: sweetens the filling evenly without any lumps
- Vanilla extract: enhances the overall flavor giving the cheesecake a warm undertone
- Cold heavy cream: whipped into the filling to lighten and fluff it, creating a perfect mouthfeel
- Mini Reese’s peanut butter cups unwrapped: the perfect topping for visual appeal and extra peanut butter delight
- Chocolate syrup: a finishing touch for drizzling that gorgeous chocolate shine on top
Instructions
- Spoon the Reese’s Base:
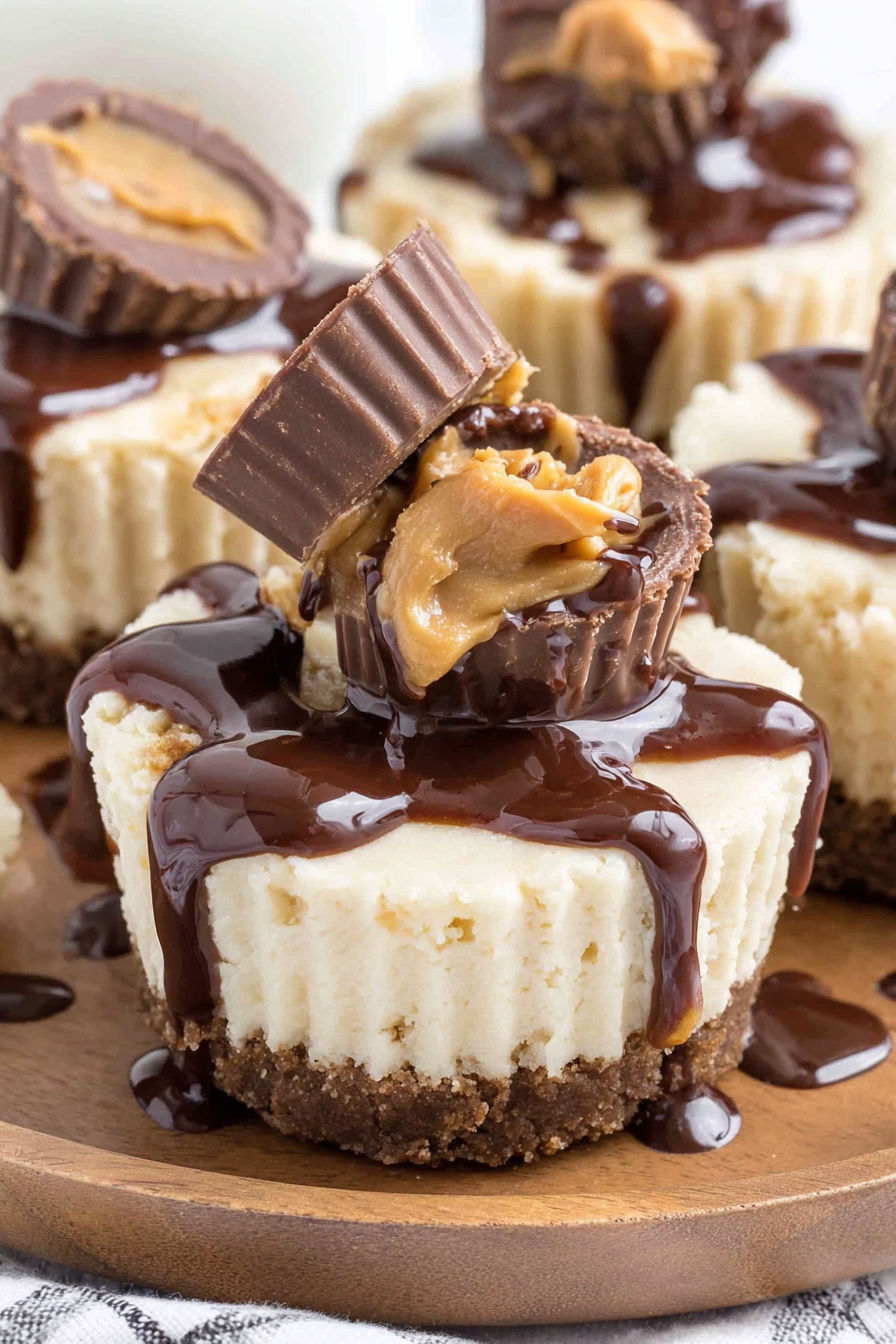
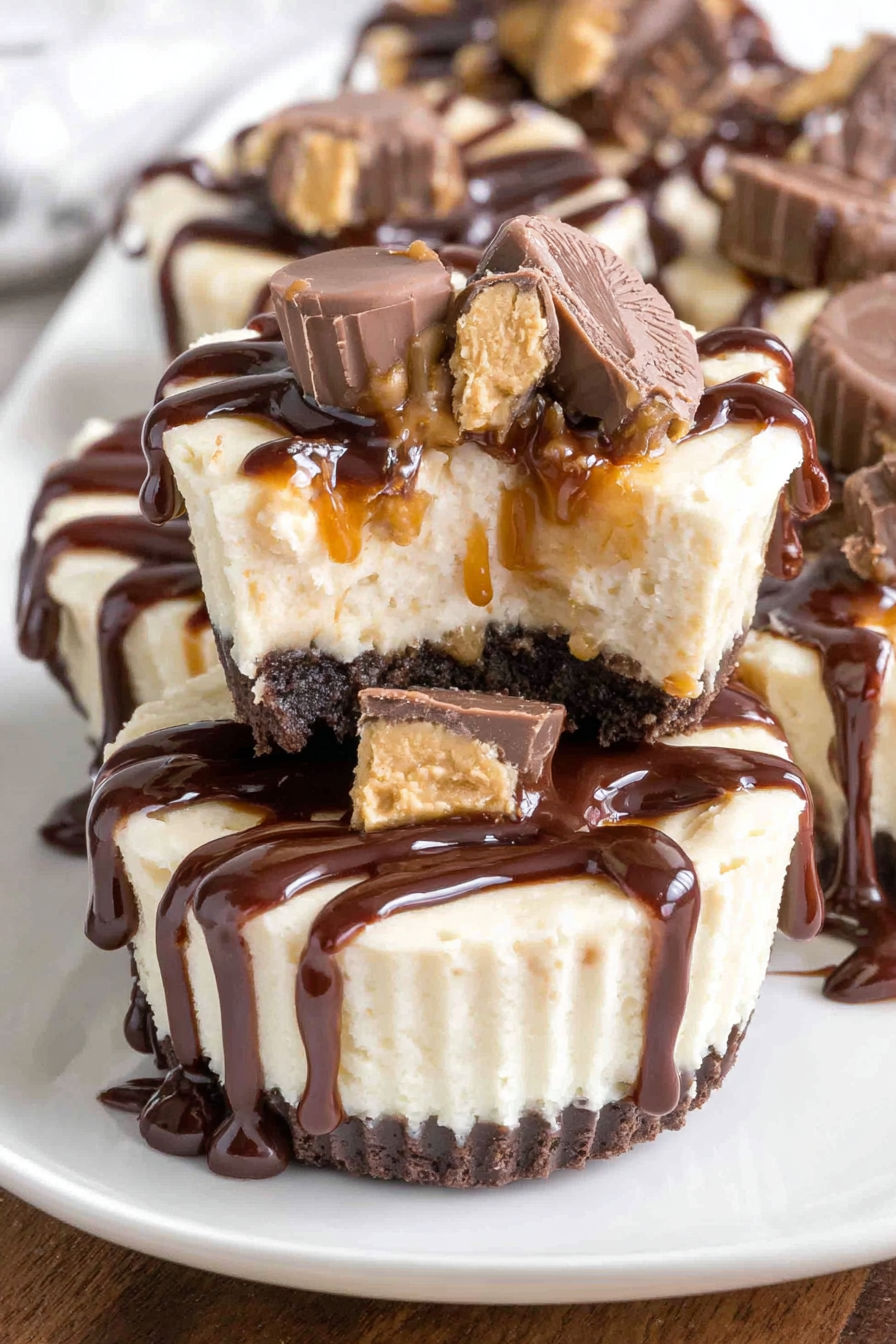
- Line a standard muffin pan with paper liners. Place one standard-sized Reese’s peanut butter cup into the bottom of each muffin cup. This forms a delicious base that adds texture and flavor.
- Mix the Filling:
- In a large bowl, use a handheld mixer on medium-high speed to blend the softened cream cheese and creamy peanut butter until the mixture is light and fluffy. This process builds the creamy foundation of your cheesecake.
- Add Sweetness and Flavor:
- Add the sifted powdered sugar and beat again until the mixture is completely smooth and creamy. Then add the vanilla extract along with cold heavy cream. Beat on high speed for two minutes or until the filling becomes light and fluffy, almost like whipped mousse.
- Fill the Cups:
- Transfer the cheesecake filling to a large piping bag or a zip-top plastic bag with a corner cut off. Pipe the filling evenly into each muffin cup, filling them all the way to the top right above those Reese’s peanut butter cups.
- Top with Mini Reese’s:
- Press a mini Reese’s peanut butter cup gently into the center of each cheesecake. The mini candy partially sits within the filling, leaving the top visible for that perfect bite of peanut butter and chocolate.
- Chill to Set:
- Place the pan in the refrigerator and chill the cheesecakes for at least eight hours or overnight. This step is essential to help the filling firm up and develop its creamy texture.
- Garnish and Serve:
- Just before serving, drizzle chocolate syrup artistically over the tops of each mini cheesecake. This adds a beautiful glossy finish and enhances the peanut butter and chocolate combination.
Peanut butter is my favorite ingredient because it adds a rich, nutty depth that balances the sweetness beautifully. One Christmas, my niece declared these the best dessert ever, and now she requests them every holiday season.
Storage Tips
Store the cheesecakes in an airtight container in the refrigerator. They keep beautifully for up to four days. If you want to prepare them ahead of time for a party, you can make them up to two days before serving without any loss in texture or flavor.
Ingredient Substitutions
If you have a peanut allergy, sunflower seed butter can replace peanut butter though the flavor will vary. Cream cheese can be swapped with mascarpone for a milder flavor and silkier texture. For a sugar-free dessert, use powdered erythritol instead of powdered sugar.
Serving Suggestions
These mini cheesecakes are perfect on their own but also shine when served alongside fresh berries or a dollop of whipped cream. They pair wonderfully with a strong cup of coffee or a glass of cold milk to balance the richness.
Seasonal Adaptations
In summer, add chopped roasted peanuts inside the filling for extra crunch. Around holidays, top with festive-colored sprinkles instead of chocolate syrup for a fun twist. For Valentine’s Day, drizzle with raspberry sauce to add a fruity contrast.
Enjoy these mini peanut butter cheesecakes as a quick festive dessert that balances creamy, sweet, and salty flavors effortlessly.
FAQs about Recipes
- → What type of peanut butter works best?
Creamy peanut butter, like Skippy, blends smoothly into the cheesecake filling, providing a rich flavor and light texture.
- → Can I use a different chocolate than Reese’s cups?
Yes, standard peanut butter cups or any chocolate with a peanut butter filling can be substituted to suit taste preferences.
- → How long should the cheesecakes chill?
Refrigerate at least 8 hours or overnight to allow the filling to firm up properly and the flavors to meld.
- → Is it necessary to use cold heavy cream?
Cold heavy cream helps create a fluffy and light texture when whipped into the filling, improving the overall mouthfeel.
- → What is the purpose of piping the filling?
Piping ensures an even, neat distribution of the filling in each muffin cup, allowing the mini peanut butter cups to be embedded effectively.