
 Save
Save
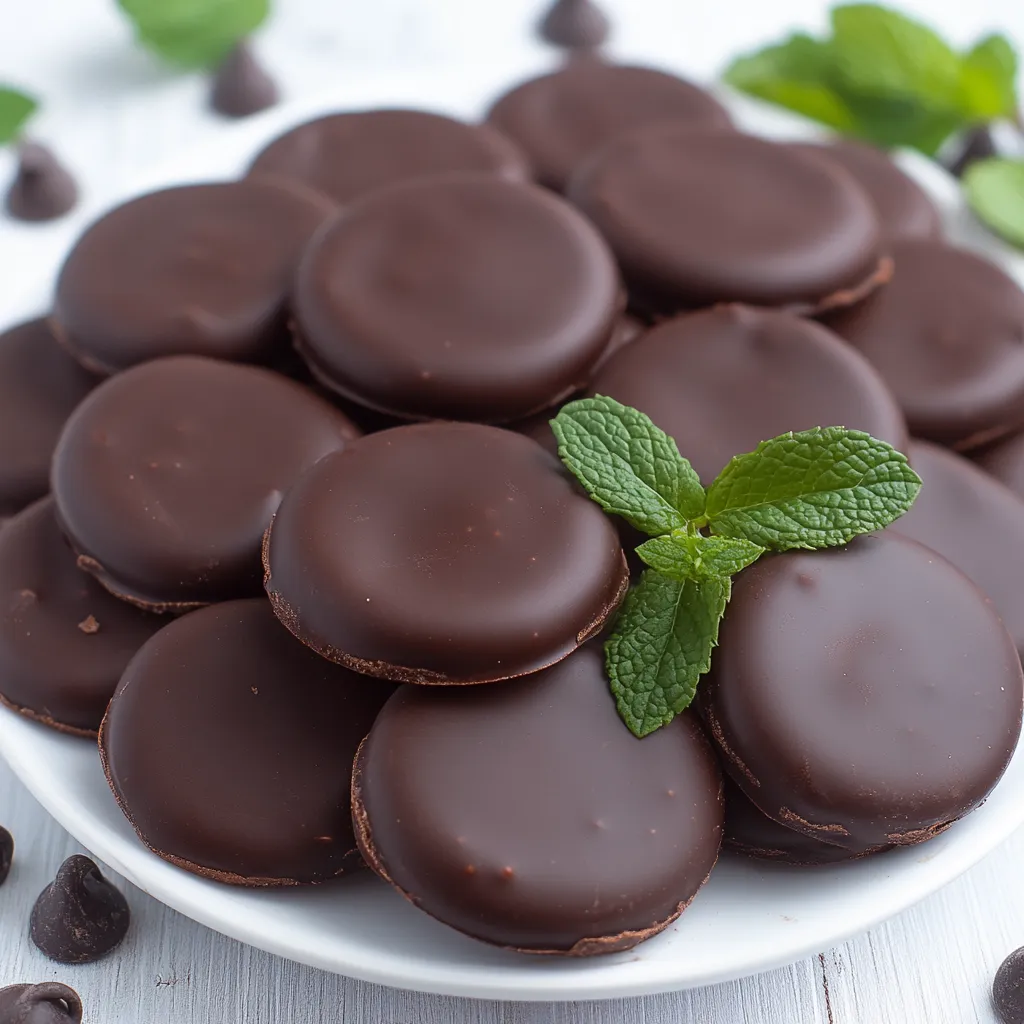
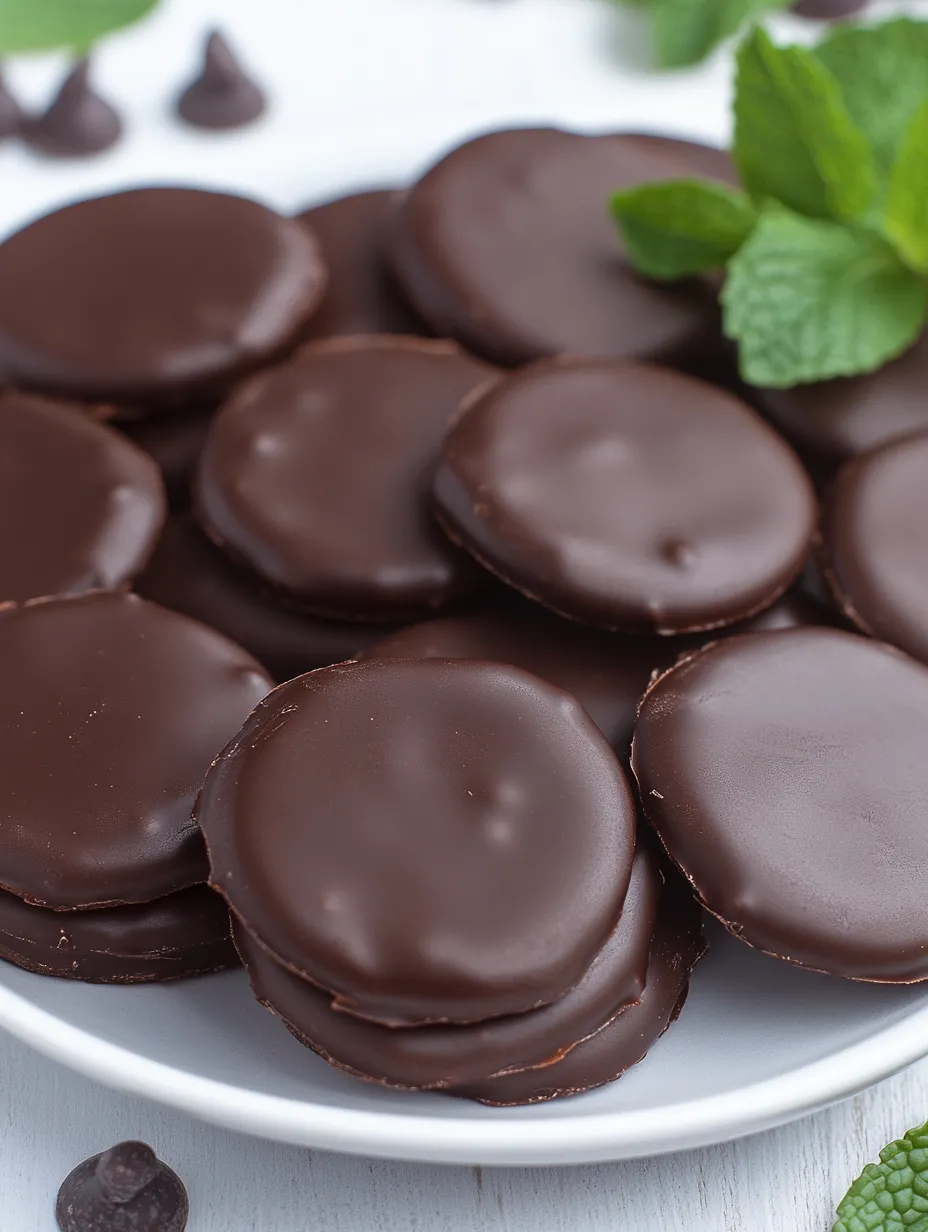
There is something incredibly nostalgic about recreating classic Girl Scout Thin Mints at home and realizing you can make them even fresher. These homemade thin mints deliver crisp chocolate peppermint cookies finished with the perfect snappy coating. They are always the first thing to disappear at parties and make excellent gifts or freezer treats.
I first made these with my kids after cookie season ended and they missed their favorite treat. Now they ask for homemade thin mints every time we have a family movie night.
Ingredients
- Butter: At room temperature for maximum creaminess when creaming with sugar. Choose unsalted and high fat content for best results
- Granulated sugar: Gives the cookies a crisp structure and balances the cocoa
- Egg: Binds the dough together and adds a slight chewiness
- Vanilla bean paste: Adds depth and true vanilla aroma. Look for pure vanilla for clean flavor
- Peppermint extract: Gives the cookies their signature cool flavor. Choose pure peppermint for potency
- All-purpose flour: Makes the dough easy to handle and creates the perfect crunchy bite
- Cocoa powder: Is what delivers the deep chocolate flavor. Dutch process gives richer color and taste
- Baking powder: Ensures some lift so the cookies are crisp and not dense
- Salt: Sharpens all the flavors. Use fine sea salt for even distribution
- Semi-sweet chocolate chips: For the coating because they melt evenly and set with a good snap
- Vegetable oil: Thins the coating so cookies stay glossy. Use neutral oil like sunflower or canola
- Peppermint extract (for coating): Doubles down on the cooling mint kick. Pure extract is ideal
Step-by-Step Instructions
- Cream the Butter and Sugar:
- Start with room temperature butter and beat it together with sugar using an electric mixer. Mix until it looks pale and fluffy which typically takes about three minutes. This step ensures your cookies have a crisp and tender texture
- Blend in Egg and Flavorings:
- Add your egg plus vanilla and peppermint extracts. Beat until everything is well combined and you can smell a strong minty aroma
- Sift and Combine Dry Ingredients:
- In a separate bowl sift together flour cocoa baking powder and salt. Sifting prevents lumps and helps the cookies bake evenly. Whisk these together for even distribution
- Incorporate Dry into Wet:
- Add the dry mix to your creamed mixture in several additions. Use the mixer on low speed and scrape the sides as needed so the dough comes together without overmixing
- Roll and Chill Dough:
- Divide the dough in half and sandwich each piece between parchment paper. Roll each to one quarter inch thickness. Keep both sheets of dough in the fridge at least two hours for easy cutting and best shape retention during baking
- Cut and Bake Cookies:
- Cut circles about two inches wide using a round cutter. Place cut cookies onto parchment lined sheets close together. Bake at three hundred fifty degrees for eight minutes just until set. Let them cool on the pan for five minutes before transferring to a rack
- Melt and Flavor Chocolate Coating:
- Melt chocolate chips in a microwave safe bowl in short bursts stirring well after each interval. Once smooth stir in peppermint extract and vegetable oil for shine and flavor
- Dip and Set Cookies:
- Fully submerge each cooled cookie in the melted chocolate. Lift and let any excess drip off then place on fresh parchment. Let them cool and harden at room temperature
My favorite ingredient in this recipe is the Dutch process cocoa because it makes the cookie base so chocolatey and rich. I remember the first time baking these with my son and everyone trying to sneak extra chocolate chips into the coating because we just could not wait to taste them
Storage Tips
Homemade thin mints keep fresh in an airtight container at room temperature for up to one week. For long storage pop them in the freezer where they will stay crisp and minty for up to three months. I always stash a few way back in the freezer to enjoy with ice cream
Ingredient Substitutions
If you want to bake dairy free go for plant based butter and vegan chocolate chips. Natural cocoa powder can work instead of Dutch process but expect a lighter color and slightly tangier flavor. If you do not have round cookie cutters just use a small glass
Serving Suggestions
These cookies shine with a glass of cold milk or hot coffee. They are perfect sandwiched with ice cream or crumbled on a scoop of vanilla. For gatherings stack them on a platter with fresh berries or bring them along to a cookie exchange
A Bit of Sweet History
Thin Mints started as a Girl Scout favorite in the 1950s and quickly gained a cult following. Their recognizable chocolate mint combo is now a year round craving for many families. Making them at home brings the tradition and nostalgia into your own kitchen whenever you want
FAQs about Recipes
- → How do I achieve a crisp texture?
Chilling the dough thoroughly and rolling it thin (about 1/4 inch) ensures a crisp, snappy cookie once baked.
- → Can I use regular chocolate bars instead of chips for coating?
Yes, chop the bars finely for easy melting, and combine them with a little oil and peppermint extract for a smooth finish.
- → Is peppermint extract necessary?
The extract adds the signature minty flavor, but you can adjust the amount for a lighter or stronger mint experience.
- → How should I store the cookies after coating?
Keep cookies in an airtight container at room temperature for up to a week, or refrigerate for longer freshness.
- → Can these cookies be frozen?
Yes, freeze the finished cookies in a single layer, then transfer to a sealed bag for up to two months. Thaw before serving.
- → What equipment helps with shaping?
A round cutter (about 2 inches) makes uniform cookies, and parchment paper helps with rolling and transferring dough easily.