
 Save
Save
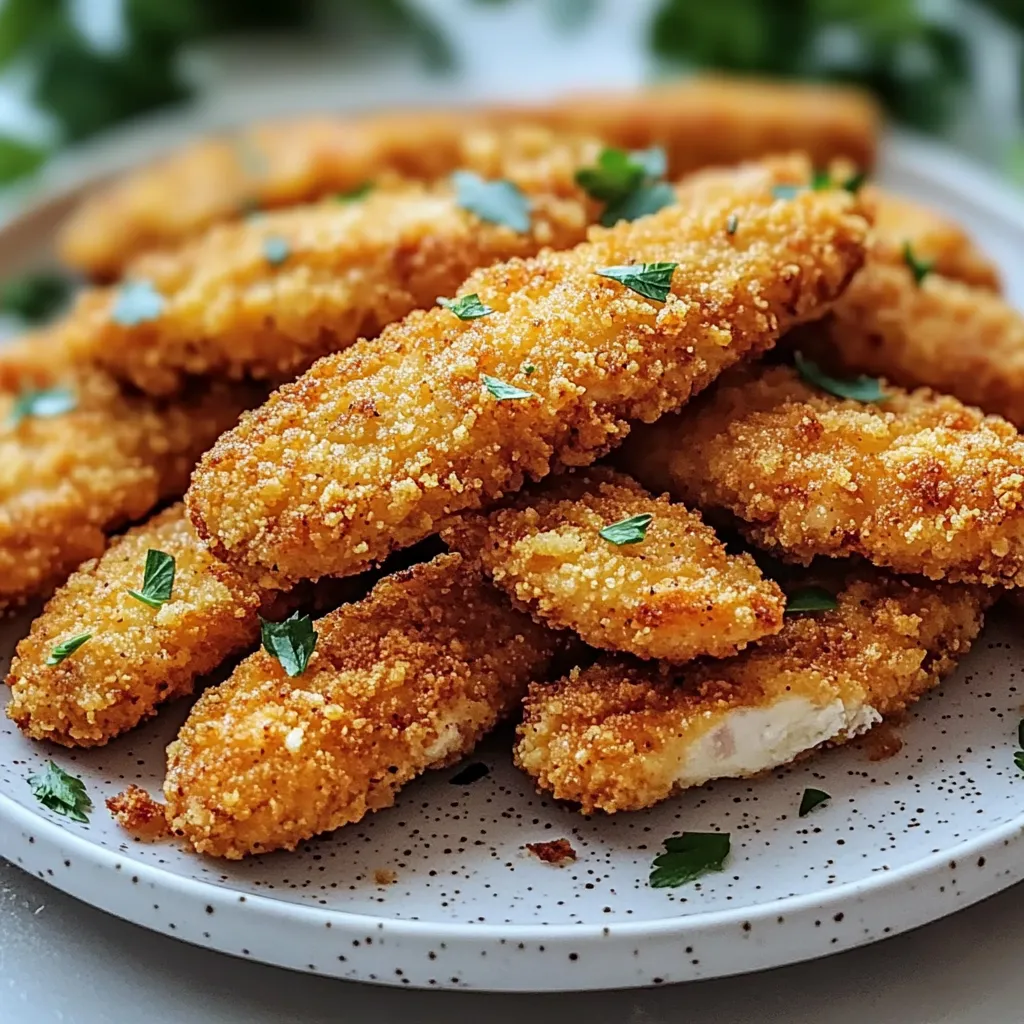
Homemade baked chicken tenders make busy nights feel special without the mess of deep frying. This recipe delivers all the crispy, golden satisfaction you want in chicken tenders using the oven and a few pantry staples. The result is juicy chicken with a crunchy crust that everyone can agree on.
It is a recipe I reach for every time my family wants something comforting and fun. The first time I made these on a weeknight, my husband asked for seconds before I even sat down.
Ingredients
- Chicken breasts or pre-cut chicken tenders: Choose fresh, plump chicken for the juiciest results
- Eggs: They help the crispy coating stick and add moisture
- Panko or regular breadcrumbs: Panko gives extra crunch but use what you have on hand for great results
- Grated Parmesan cheese: This is optional but it adds depth and a savory boost choose freshly grated for best flavor
- Garlic powder: Essential for a flavorful punch
- Paprika: Brings warmth and rich color Look for fresh paprika for maximum aroma
- Onion powder: Adds gentle sweetness and savory notes Choose a fragrant powder for the best effect
- Salt: Essential for balancing all the flavors Use fine salt to distribute evenly
- Black pepper: Freshly cracked if possible for a sharp bite
- Olive oil spray: Makes the crust golden and crisp without extra greasiness Pick a good-quality spray for the best finish
Step-by-Step Instructions
- Prep the Chicken:
- If you have chicken breasts cut them into evenly sized strips about one inch wide If using chicken tenders you can use them as is This ensures the pieces cook at the same rate
- Prepare the Breading Stations:
- Crack the eggs into a bowl and beat them with a fork until smooth In a second bowl thoroughly mix together the breadcrumbs Parmesan if you are using it garlic powder paprika onion powder salt and black pepper This even distribution means every bite is packed with flavor
- Season the Chicken:
- Sprinkle a little salt and pepper over all the chicken strips Toss gently with your hands so every piece has a light seasoning
- Bread the Chicken:
- Take one chicken strip and dip it fully in the beaten eggs Let the extra drip off before placing it in the breadcrumb mixture Press the breadcrumbs onto the chicken so they adhere well For super crispy tenders repeat this egg and breadcrumb process a second time for a double coat
- Prepare the Baking Sheet:
- Lay down parchment paper or a silicone baking mat on your sheet pan Cleanup is a breeze this way Place a wire rack on top if you have one so hot air moves all around the chicken for extra crunch
- Arrange the Chicken on the Baking Sheet:
- Set the breaded chicken strips on your baking sheet or rack Make sure none are touching so each can crisp without steaming
- Bake the Chicken Tenders:
- Set your oven to four hundred degrees Fahrenheit two hundred degrees Celsius Lightly mist the tops of the chicken strips with olive oil spray This helps the coating brown as it bakes Slide the tray into the oven and bake for twenty to twenty five minutes Flip the tenders halfway to get color on both sides Check that the chicken is completely cooked with an internal temperature of one hundred sixty five degrees Fahrenheit seventy four degrees Celsius
- Serve and Enjoy:
- Let the tenders rest for a few minutes right out of the oven This helps keep the coating crunchy Serve them with sauces like honey mustard barbecue or ranch and watch them disappear
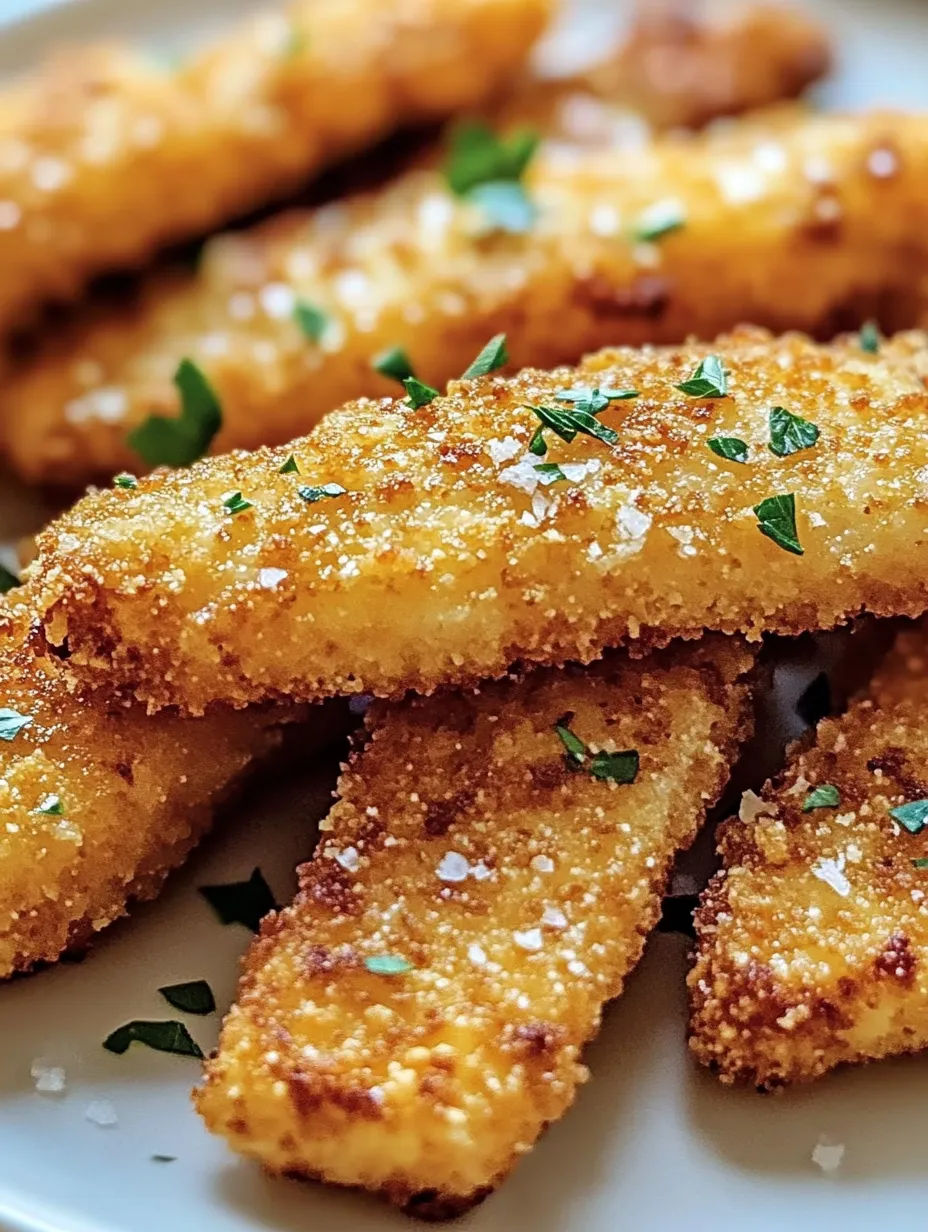
My absolute favorite part is the crunch the panko provides My daughter once declared these the best chicken tenders ever while dipping her second one and that sealed their spot in our rotation
Storage Tips
These chicken tenders store beautifully Let them cool completely before placing in an airtight container They will keep in the fridge for up to three days To reheat use an oven or air fryer for best crispiness Microwaving is quick but can soften the coating
Ingredient Substitutions
No panko on hand Regular breadcrumbs make a fine substitute You can use gluten free breadcrumbs if needed If you prefer a dairy free version just skip the Parmesan cheese A sprinkle of nutritional yeast adds great flavor instead
Serving Suggestions
Serve the tenders with crisp vegetables and your favorite dip for a light meal Add them to a salad for extra protein Try rolling them in a wrap with some greens and a drizzle of sauce for lunchboxes or picnics
A Bit of History
Chicken tenders as we know them began appearing in American diners and fast food spots in the late twentieth century Baked versions are a more recent twist on a classic but capture the same nostalgic flavor with much less oil
FAQs about Recipes
- → How do I ensure the chicken stays juicy?
Coating the chicken in egg and breadcrumbs creates a barrier that helps lock in moisture during baking. Avoid overcooking by monitoring internal temperature and removing the tenders once they reach 165°F (74°C).
- → Can I use regular breadcrumbs instead of panko?
Yes, regular breadcrumbs will work, though panko produces a lighter, crispier texture. Choose your preferred variety based on the crunch you desire.
- → Is it necessary to flip the tenders while baking?
Flipping halfway through ensures even browning on both sides, resulting in a crunchy coating all around.
- → What dipping sauces go well with these tenders?
Popular choices include honey mustard, BBQ sauce, and ranch, but you can enjoy them with your own favorites as well.
- → How should I store leftovers?
Store cooled tenders in an airtight container in the refrigerator. To reheat, bake briefly in the oven to restore crispiness.