
 Save
Save
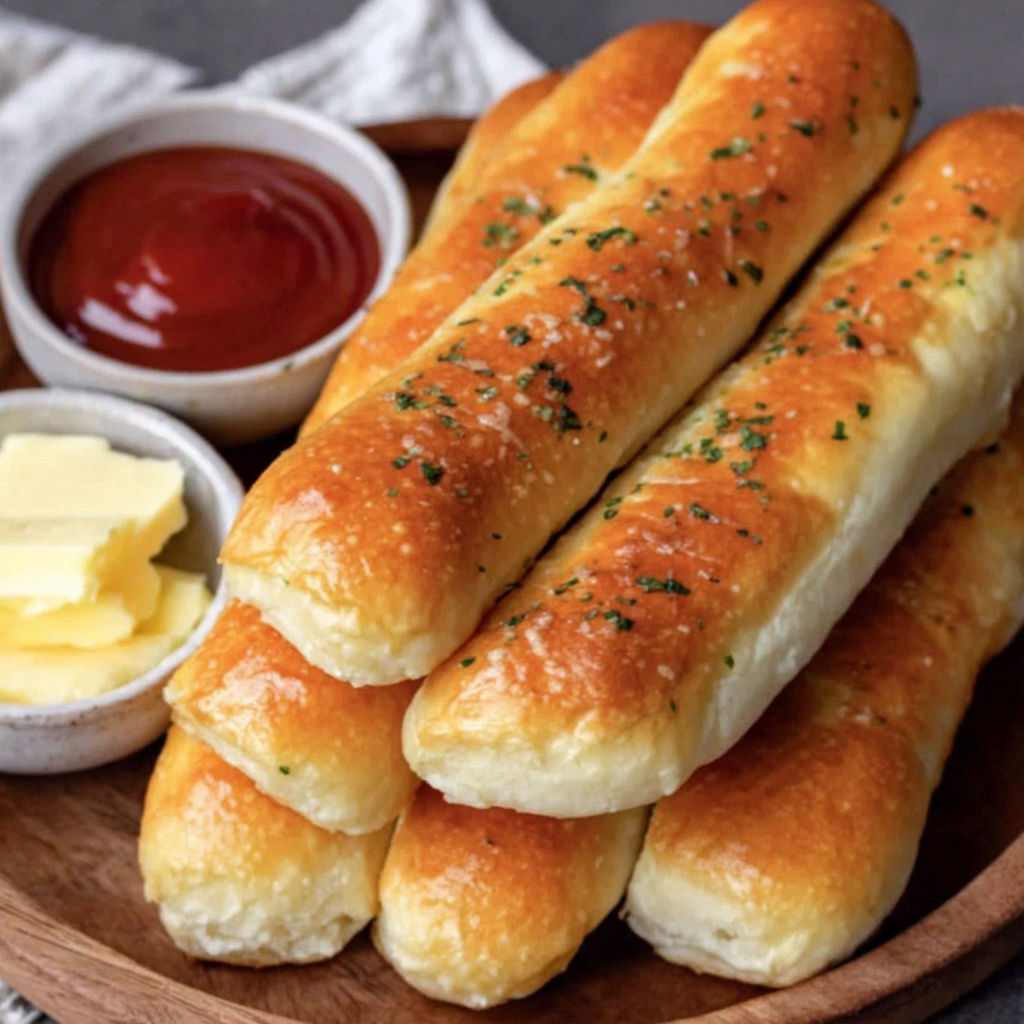
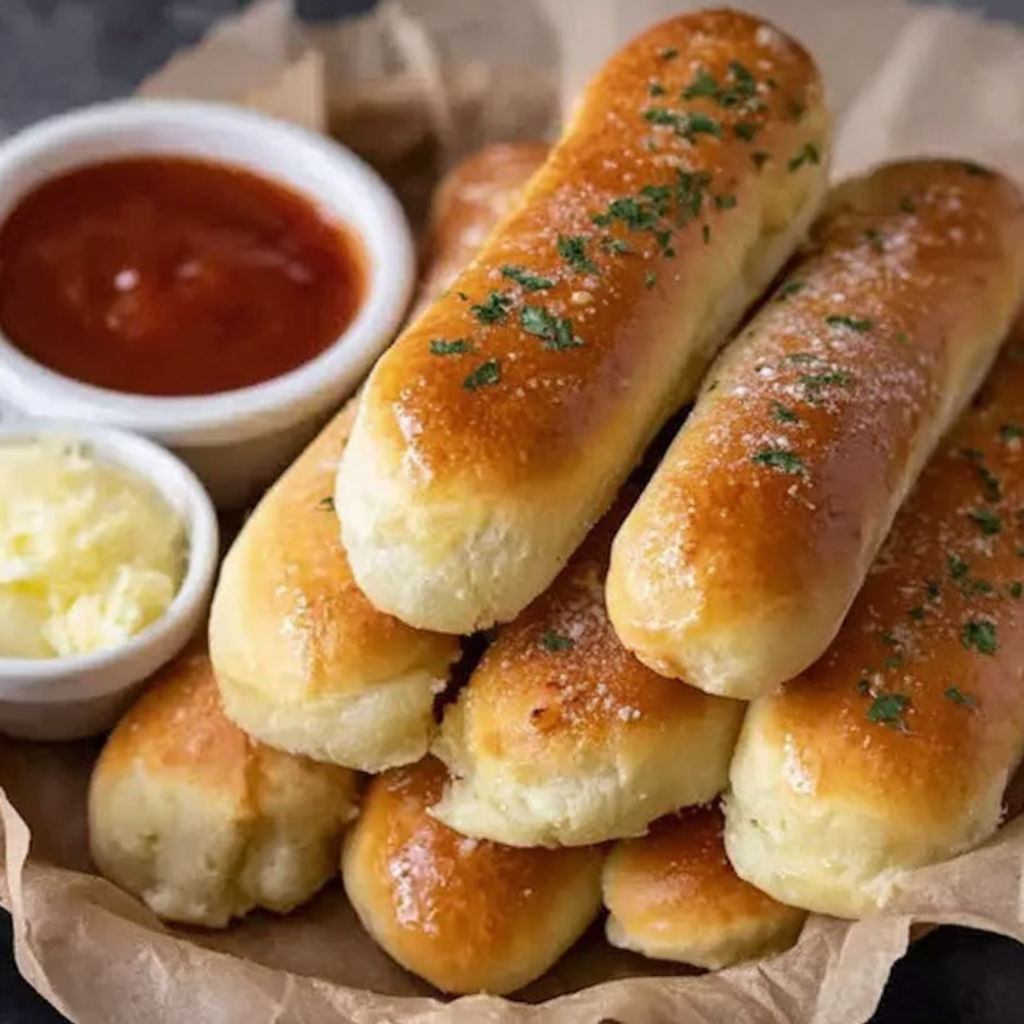
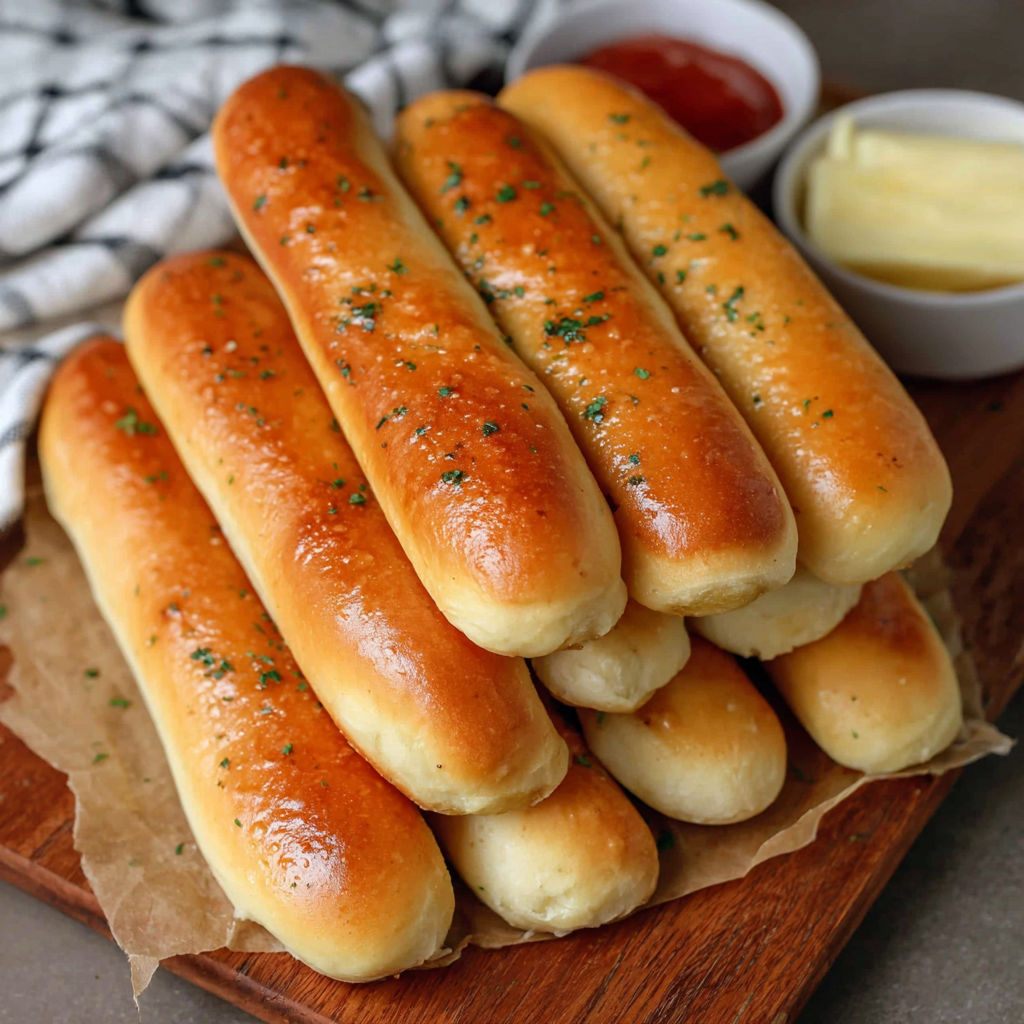
These homemade Olive Garden copycat breadsticks are the secret to turning any dinner into a family party. Soft and pillowy inside with a beautifully golden crust and that classic garlicky finish they are impossible to stop eating and taste as dreamy fresh as they do in the restaurant.
I set out to find a way to make restaurant style breadsticks at home after my kids pleaded for them week after week—now it is the most requested thing I bake for Sunday suppers. When I tried these for a big holiday dinner I was shocked at how quickly they disappeared. Now neighbors request I bring these to every potluck.
Ingredients
- Warm water: makes the yeast foam and helps the dough rise quickly use filtered if possible
- Active dry yeast: gives the breadsticks their lift fresher yeast means fluffier bread
- Granulated sugar: feeds the yeast and adds subtle sweetness look for fine white sugar
- All purpose flour: builds the doughs tender structure choose a trusted brand for best results
- Salt: boosts flavor and controls yeast activity try fine sea salt
- Vegetable oil or olive oil: keeps the breadsticks soft and adds moisture olive oil brings a fruitier note
- Butter: brushed on top for shine and rich flavor go for good quality unsalted
- Garlic powder and salt: create the classic savory topping be sure your spices are fresh and fragrant
Instructions
- Bloom the Yeast:
- Pour the warm water into the bowl of your stand mixer and add the active dry yeast and just a sprinkle of sugar. Whisk gently by hand until dissolved and let the mixture sit for ten minutes. You will notice bubbles forming on top which means the yeast is active.
- Make the Dough Base:
- Add the rest of the sugar plus about half the flour total salt and the oil to the bowl. Using the paddle attachment mix everything together until the mixture becomes thick and sticky.
- Knead the Dough:
- Switch to the dough hook. Gradually add the rest of the flour in small increments while mixing on low speed. You want a soft dough that pulls away from the sides but does not stick heavily to your hands. Let the mixer knead for about six to eight minutes until the dough is smooth and elastic you can also finish by hand on a floured counter if you like.
- First Rise:
- Remove the dough from the mixer and plop it into a greased mixing bowl. Turn the dough so the top is coating in oil to prevent drying. Cover with plastic wrap and let the dough rise in a warm spot until it has doubled in size which usually takes about ninety minutes or so.
- Shape the Breadsticks:
- Punch down the dough gently to release air. Turn the dough onto a clean floured surface and divide into twelve even balls. Keep the pieces covered with plastic wrap as you roll each one out into a nine inch rope. Place each rope onto a parchment lined baking sheet making sure to leave space between.
- Second Rise:
- Drape plastic wrap loosely over the breadsticks and allow them to rise for another hour. During the last ten minutes of rising preheat your oven to 425 so it is ready to go.
- Bake to Golden:
- Place the sheets in your hot oven and bake for eleven to thirteen minutes until the breadsticks are lightly golden and set. While they bake mix the garlic powder and salt together in a small bowl for topping.
- Buttery Finish:
- As soon as the hot breadsticks are out of the oven immediately run a stick of butter over the tops or brush them generously with melted butter. Take the garlic mixture and sprinkle it evenly right away so it sticks to the butter.
- Serve and Store:
- Enjoy them warm with your meal. Let any extras cool completely before storing in an airtight container at room temperature.
I have always loved the moment when I brush on the warm butter and the kitchen fills with that delicious garlic aroma. The first bite is pure nostalgia and takes me right back to the happiest family dinners.
Storage Tips
Store cooled breadsticks in a tightly sealed container at room temperature for up to three days. For longer storage keep them in the freezer. Simply defrost and warm gently in the oven before serving to refresh them. Avoid refrigerating as this dries them out.
Ingredient Substitutions
You can swap olive oil for the vegetable oil if you prefer a richer taste. For a dairy free version use vegan butter on top. I have also tried whole wheat flour for half the amount if you want a heartier texture.
Serving Suggestions
These breadsticks are amazing with any Italian meal from spaghetti to baked ziti. I also love serving them alongside tomato soup or using them to soak up the last bit of sauce from a hearty stew.
Cultural Inspiration
Breadsticks known as grissini have roots in Italian cuisine going back centuries. This fluffy American style version was made famous by Olive Garden as a signature table bread giving a comforting homemade twist to a classic.
Seasonal Adaptations
Add chopped fresh herbs to the dough for a summer garden spin. Sprinkle grated Parmesan before baking for a chewier topping. Swap in a little whole wheat flour for a nutty autumn flavor.
Every time I share these breadsticks they are the first thing to vanish from the table. Friends always ask for the recipe and I love seeing how impressed beginner bakers get when they pull out a tray of buttery breadsticks just like the restaurant.
FAQs about Recipes
- → What flour is best for these breadsticks?
All-purpose flour yields the perfect balance of softness and structure, similar to the restaurant classic.
- → How do I get the breadsticks fluffy?
Allow the dough ample rising time in a warm spot until doubled, and knead until it's smooth and elastic.
- → Can butter be substituted with olive oil?
Yes, you can brush breadsticks with olive oil for a lighter taste, though butter adds classic richness.
- → How do I store leftovers?
Once cooled, keep breadsticks in an airtight container at room temperature for up to two days.
- → How do I reheat breadsticks?
Wrap them in foil and warm in a 350°F oven for a few minutes to revive their soft texture.