
 Save
Save
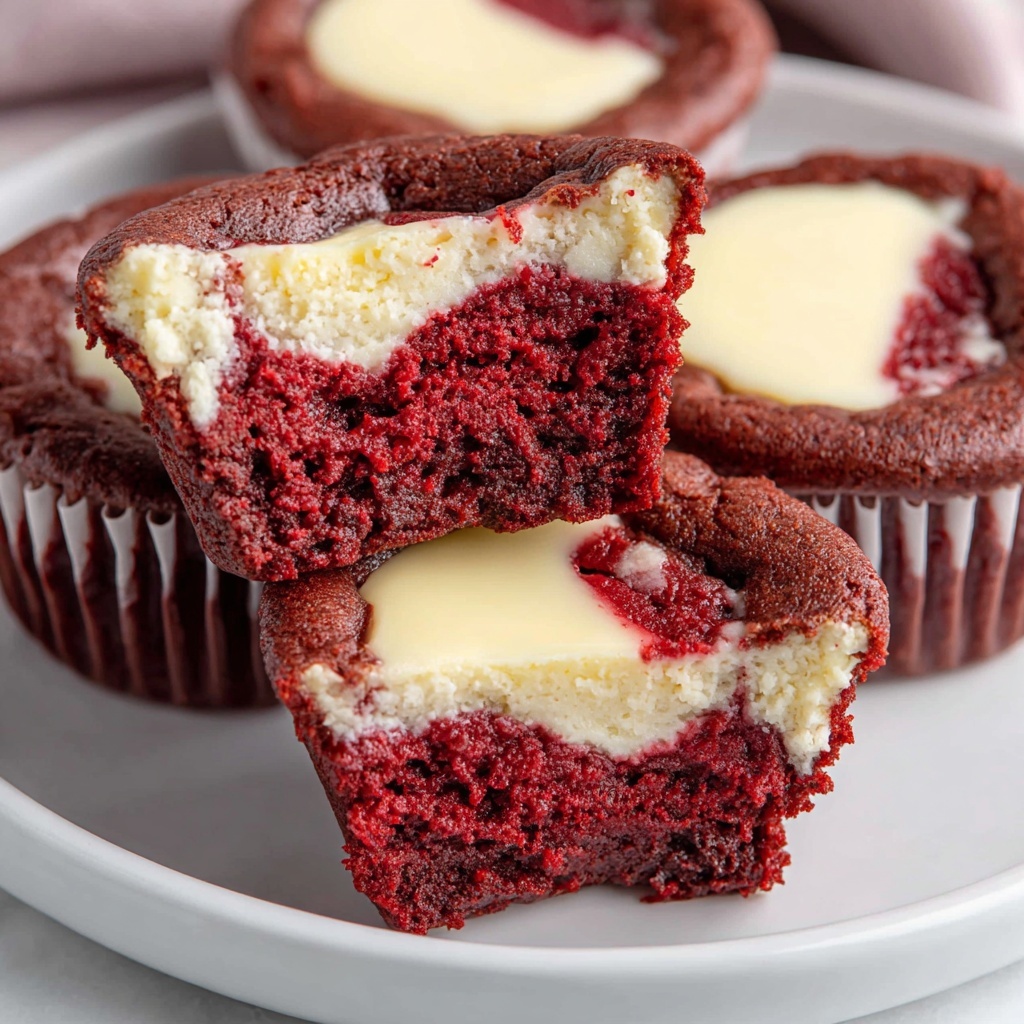
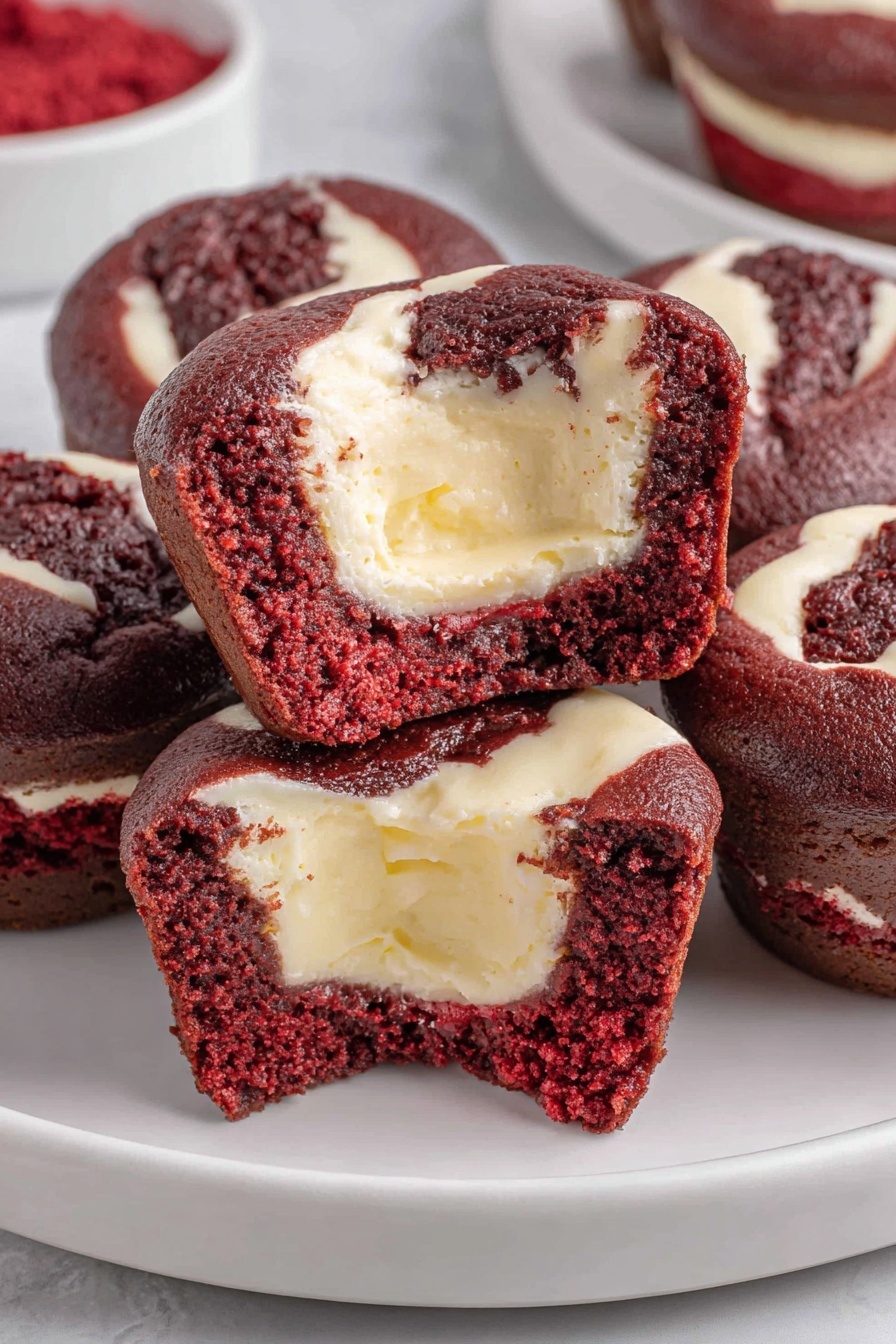
These mini red velvet cheesecakes combine the rich, velvety cake with creamy cheesecake filling in bite-sized form, perfect for parties or an indulgent treat. They bring together the classic red velvet flavor and a smooth cheesecake center, creating a balanced dessert that is both visually appealing and delicious.
I first made these during a holiday bake-off and was surprised at how quickly they disappeared. Now they are my go-to for anytime I want something special but not too heavy.
Ingredients
- All-purpose flour: provides structure for the red velvet base choose unbleached for best texture
- Unsweetened cocoa powder: adds the classic subtle chocolate note Dutch-processed works well for richer flavor
- Salted sweet cream butter: brings moisture and richness allow it to melt and cool before mixing so it blends smoothly
- Granulated sugar: for sweetness and lightness in the cake
- Red gel food color: gives the signature vibrant red hue without extra liquid—Sunny Side Up Bakery brand offers great color intensity
- Pure vanilla extract: enhances all the flavors with a warm aroma
- Large eggs: at room temperature help create a tender crumb and emulsify the batter
- Cream cheese: softened to room temperature ensures smooth cheesecake filling without lumps
- Extra sugar: in the filling balances the tanginess of the cream cheese for a pleasant-sweet bite
- Egg yolk: in the filling adds richness and helps the cheesecake hold together firmly
Instructions
- Preheat Oven:
- Preheat the oven to 350 degrees Fahrenheit. Lightly spray a mini muffin pan with nonstick cooking spray and set aside.
- Prepare Dry Ingredients:
- Prepare the dry ingredients by combining the all-purpose flour and the unsweetened cocoa powder in a small bowl. Use a whisk to blend them thoroughly so the cocoa is evenly distributed. Set this mixture aside.
- Mix Wet Ingredients:
- In a separate medium bowl, pour the melted and cooled salted sweet cream butter. Add the granulated sugar and whisk them together gently. Next, stir in the red gel food color, vanilla extract, and carefully beaten eggs. Whisk these wet ingredients until the mixture is smooth and uniform in color.
- Combine Batter:
- Gradually add the dry flour and cocoa mixture into the wet ingredients. Stir carefully until everything is combined, but be cautious not to overmix as this might develop gluten and make the base tough. The batter should be smooth and slightly thick.
- Prepare Cheesecake Filling:
- For the cheesecake filling, place the softened cream cheese in another medium bowl. Using a handheld mixer set to medium-high speed, beat the cream cheese for one full minute. This aerates the cheese, leading to a lighter filling.
- Mix Filling:
- Add the sugar and vanilla extract to the cream cheese and continue mixing for another one to one and a half minutes until fully blended and smooth.
- Add Egg Yolk:
- Incorporate the egg yolk into the cream cheese mixture and mix just until the yellow color disappears and the filling is uniform. Avoid overbeating here to prevent cracking during baking.
- Prepare Piping Bag:
- Transfer the cheesecake filling into a disposable piping bag or a quart-sized ziplock bag. Seal the bag and cut off a small tip from the corner which will allow controlled piping.
- Assemble Cheesecakes:
- Spoon approximately one tablespoon of the red velvet base into each mini muffin cup. Then carefully pipe about two teaspoons of the cheesecake filling directly into the center of each red velvet portion, creating a beautiful layered effect.
- Bake:
- Place the muffin pan in the preheated oven and bake for eight to nine minutes. Keep an eye on them so the edges do not overcook.
- Cool:
- Remove from the oven and let the cheesecakes cool in the pan for twenty to thirty minutes. This helps the filling set properly before transferring.
- Finish Cooling:
- Once cooled, gently remove the mini cheesecakes from the pan and place them on a wire rack to cool completely before serving or storing.

I love how the cream cheese filling contrasts with the red velvet base both in taste and texture. One holiday season, I made these for a family gathering, and my youngest cousin called them "little bites of heaven." Those words stuck with me, making them my signature dessert.
Storage Tips
Store the mini red velvet cheesecakes in an airtight container in the refrigerator. They will stay fresh for up to five days, making them an excellent option for parties or weekly treats. If you need to keep them longer, freeze the cheesecakes in a single layer on a baking sheet, then transfer to a freezer-safe container. Thaw overnight in the fridge for the best texture.
Ingredient Substitutions
If you do not have red gel food coloring, beet powder or natural food dyes can provide a reddish tint but expect a more earthy taste and less vibrant color. Use unsalted butter if preferred but increase salt in the recipe by a pinch to balance flavors. For the cream cheese filling, mascarpone can be substituted to add extra richness and a slightly sweeter finish.
Serving Suggestions
These mini cheesecakes pair beautifully with fresh berries or a light dusting of powdered sugar for an elegant presentation. A small dollop of whipped cream on top adds extra creaminess and heightens the indulgence. Serve alongside a cup of coffee or hot tea as a wonderful afternoon treat.
Seasonal Adaptations
Try adding warmed pumpkin spice to the cheesecake filling for a fall-inspired twist that plays nicely with the cocoa in the base. In spring, fold a bit of lemon zest into the filling to brighten the flavor and contrast the richness. Around the holidays, sprinkle finely chopped peppermint candy over the top after baking to add crunch and freshness.
This recipe is a delightful treat that balances flavor and ease. Enjoy making these mini red velvet cheesecakes for any occasion.
FAQs about Recipes
- → What gives red velvet its characteristic color?
The vibrant red color comes from adding red gel food coloring to the cocoa-infused batter, enhancing both appearance and depth.
- → Can I substitute cream cheese with another filling?
Cream cheese provides a smooth, tangy contrast to the sweet base, but mascarpone or ricotta can be alternatives with a different texture.
- → How do I prevent overmixing the batter?
Gently fold the flour and cocoa powder mixture into the wet ingredients just until combined to keep the treats tender.
- → What type of pan is recommended for baking?
A mini muffin pan works best for creating uniform small bites that bake evenly and hold their shape well.
- → How long should the treats cool before serving?
Allow them to cool for at least 20 to 30 minutes after baking to set the texture and make removal from the pan easier.