
 Save
Save
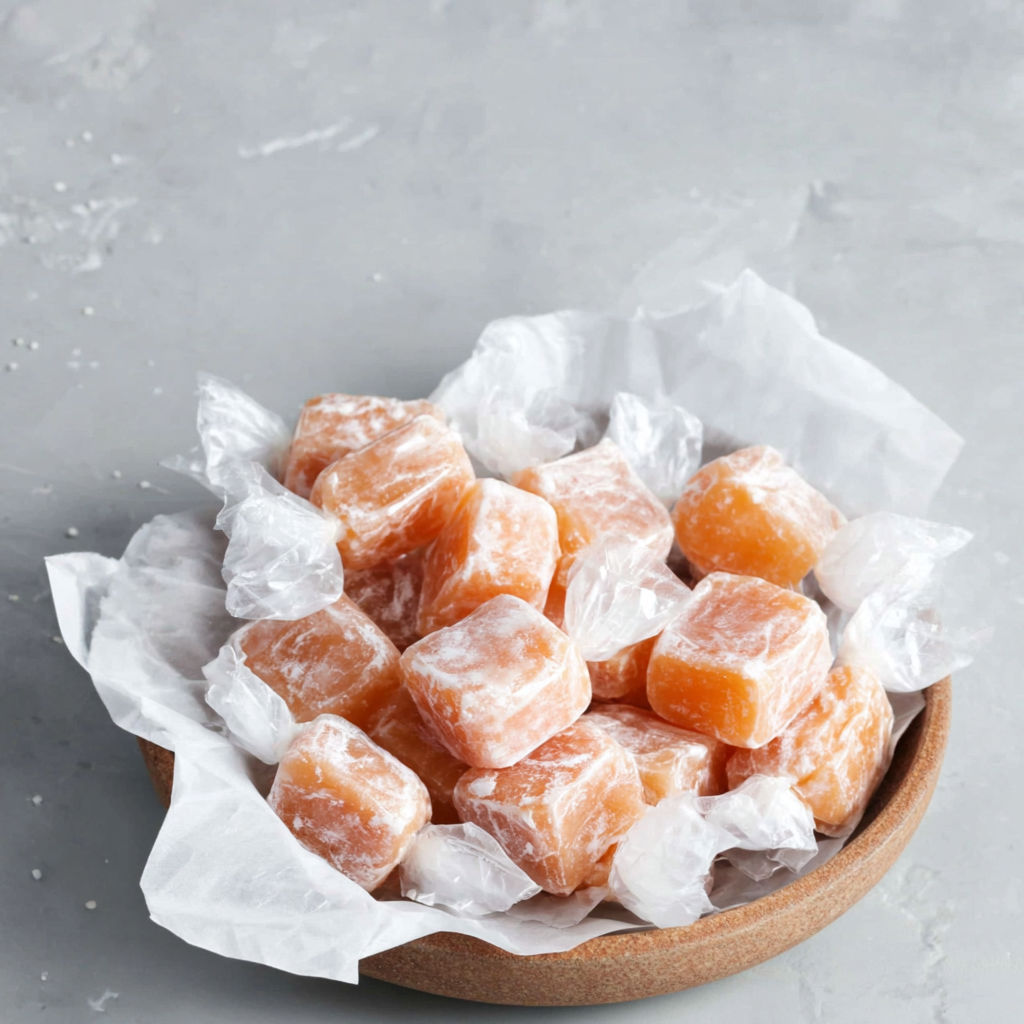
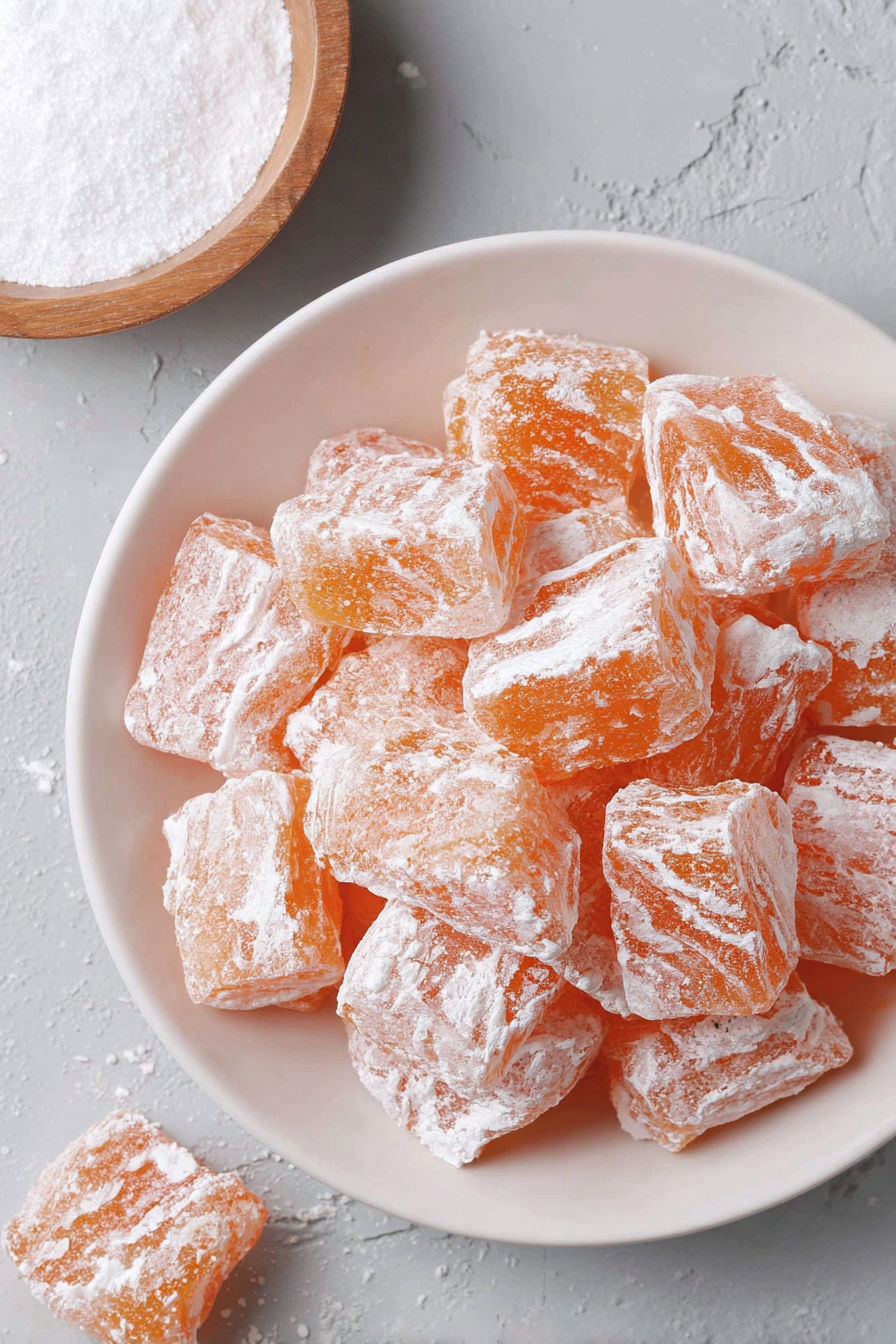
This homemade hard candy recipe transforms simple pantry ingredients into translucent, colorful sweets that bring a wave of nostalgia with every bite. The candy's characteristic crunch comes from cooking the sugar syrup to the precise hard-crack stage. You can tailor each batch with your favorite flavors like anise, lemon, or orange extract and brighten them up with food coloring. Dusting the finished candies with confectioners' sugar keeps them from sticking and makes them easy to handle and share.
I first tried making this candy on a whim before a holiday party, and it was a hit. Now it's a tradition to melt sugar and fill the kitchen with sweet scents as friends gather around.
Ingredients
- Two cups granulated sugar: great for dissolving evenly and creating a clear texture
- Three quarters cup light corn syrup: important for preventing sugar crystallization and adding smoothness
- Half cup water: to help dissolve sugar and control the cooking process
- Five to six cups confectioners' sugar: provides a soft bed to pour and shape the candy plus prevents sticking
- One to two teaspoons flavor extract: like anise, lemon, or orange to add a bright, aromatic note
- Optional liquid food coloring: such as red, yellow, or orange for vibrant, festive candies
Instructions
- Prepare the Pan:
- Fill a 15x10x1-inch pan with five to six cups of confectioners' sugar to form about a half-inch layer. Using a wooden spoon handle, carve a continuous curved indentation in the sugar. This groove acts as a mold for your candy and helps it set with shape. Set the pan aside while you make the candy.
- Combine Candy Ingredients:
- In a large heavy saucepan combine two cups of granulated sugar, three quarters cup light corn syrup, and half cup water. Place over medium heat and stir occasionally just until sugar starts dissolving. This gets the mixture ready for boiling.
- Dissolve Sugar Crystals:
- Cover the saucepan and cook for three minutes without stirring after the sugar mixture reaches a boil. This step melts any remaining sugar crystals to avoid a grainy texture later.
- Cook to Hard-Crack Stage:
- Remove the lid and turn heat up to medium-high. Allow the syrup to cook without stirring until a candy thermometer reads 300 degrees Fahrenheit, which is the hard-crack stage needed for crunchy candy.
- Add Flavor and Color:
- Remove the pan from heat immediately to prevent burning. Stir in one to two teaspoons of your chosen extract such as anise or lemon. Add a few drops of food coloring if you want vibrant candy. Mix well but carefully since the syrup is hot.
- Pour Candy into Mold:
- Transfer the hot syrup carefully into a glass measuring cup to make pouring easier. Work swiftly and pour the syrup into the curved indentation in the confectioners' sugar bed.
- Coat and Cool:
- Sprinkle a generous layer of confectioners' sugar over the candy to prevent sticking on the surface. Let the candy cool completely until it is hard enough to touch and handle.
- Cut and Store:
- Once the candy is firm, use scissors to cut along the sugar groove into small bite-sized pieces. Store the candies in a covered container at room temperature to keep them fresh and crunchy.
One of my favorite touches is adding anise extract. It's not something you find in every hard candy and it always surprises guests with its warm licorice note. I remember making a big batch as a kid and passing out the candy at Halloween which quickly became a memorable treat to share.
Storage tips
Hard candy keeps well at room temperature in an airtight container for weeks if kept dry so it's great for preparing in advance. Avoid storing in humid areas because moisture can make the candy sticky and soft. Layer candies with parchment paper or extra confectioners' sugar to prevent sticking during storage.
Ingredient substitutions
You can swap light corn syrup with golden syrup if you prefer a subtly different flavor and similar texture. If you don't have extracts on hand try crushed natural herbs for infusion like peppermint leaves steeped briefly in the syrup before pouring. Food coloring is optional but natural options like beet juice or turmeric powder can give gentle hues.
Serving suggestions
Serve these candies as party favors in colorful cellophane bags tied with a ribbon. They make charming edible gifts during holidays wrapped in wax paper and placed in decorative tins. Pair with hot tea or coffee where the sweet crunchy candy complements warm beverages beautifully.

Making your own hard candy is like capturing a bit of sweetness and magic right in your kitchen. Each batch is satisfying to create and even better to share.
FAQs about Recipes
- → What temperature should the sugar syrup reach?
The syrup should be heated to 300°F, known as the hard-crack stage, to ensure the candy sets with a firm, brittle texture.
- → How do I prevent the hard candy from sticking?
Dusting the pan and the poured candy with confectioners’ sugar creates a barrier that prevents sticking.
- → Can I customize the flavor of the candy?
Yes, adding extracts like anise, lemon, or orange after cooking gives the candy distinct, natural flavors.
- → Is food coloring necessary?
Food coloring is optional but helps create vibrant, colorful candies for visual appeal.
- → How is the candy cut after cooling?
Once cooled and firm, the candy is sliced into bite-sized pieces along the molded sugar indentations using scissors.