
 Save
Save
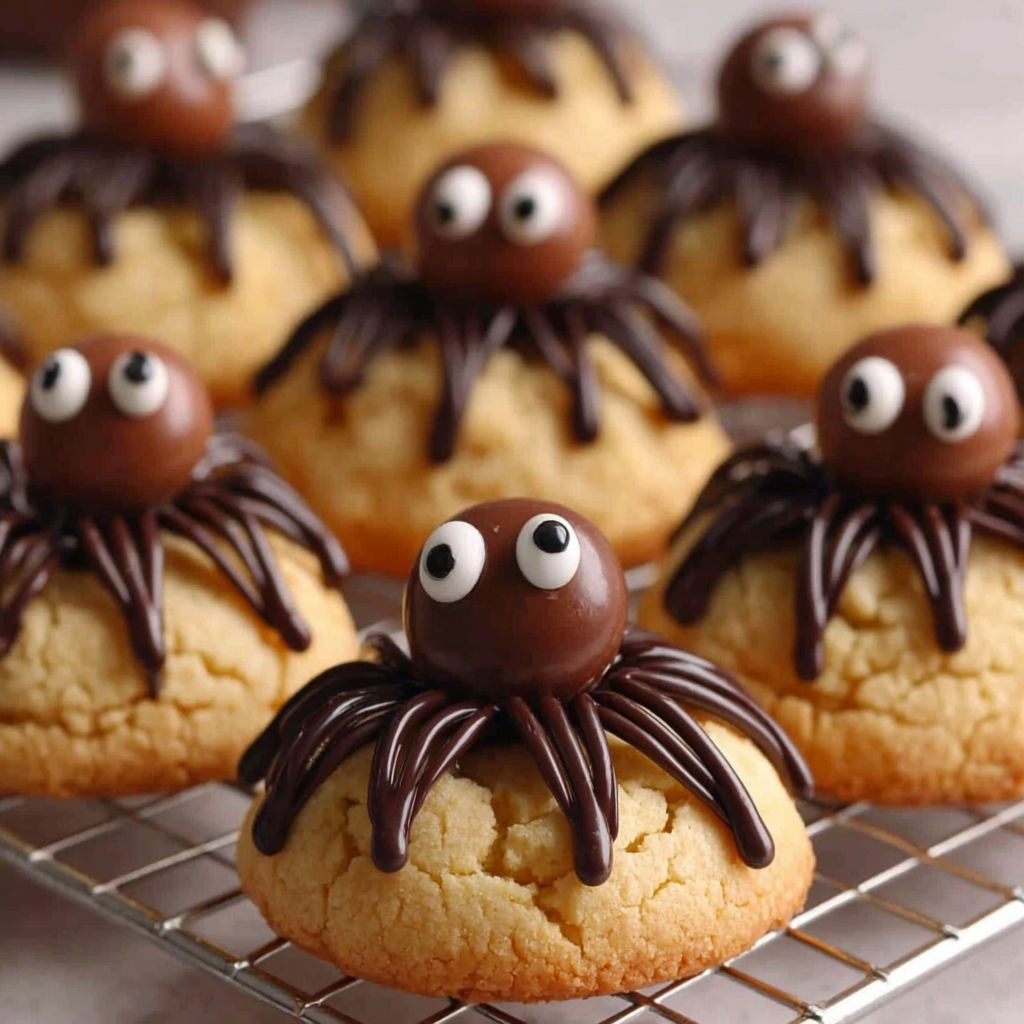
These Halloween spider cookies are the hit of every spooky gathering and make for a fun kitchen project with kids or friends. You get a soft buttery base that is just sweet enough plus the magic of decorating with Maltesers chocolate and icing for those irresistible spider details. The dough comes together quickly and the assembly is wonderfully craftsy so you can create a whole tray of creepy crawlies in no time.
Every time I make these my nieces and nephews line up at the counter because they cannot wait to help stick on the eyes and legs. One year they gave each spider a name and that still makes me smile when I bake a new batch.
Ingredients
- Butter: you want it just softening for easy mixing unsalted is best for clean flavor
- Brown sugar: for deep caramel flavor choose a soft fine type
- White sugar: brings crisp edges and balances out the sweetness
- Egg: binds your dough together for that chewy center size large is ideal
- Vanilla essence: rounds out flavors pure vanilla gives best results
- Plain flour: go for all purpose and sift to avoid lumps
- Salt: brings out the caramel and chocolate notes a fine sea salt is my go to
- Baking soda: provides rise and the right chewy bite check expiry for active leavening
- Cornflour: ensures a tender texture look for a bright white powder
- Maltesers: classic chocolate malted milk balls become the spider bodies
- Dark chocolate: makes dramatic legs choose a bar for melting not chips
- White icing: for the cartoon eyes a tube with a fine tip works best
Instructions
- Melt the Butter:
- Place your measured butter in a large glass bowl and microwave for up to fifty seconds You want most of it soft and partially melted but not bubbling hot
- Mix the Wet Ingredients:
- Whisk the softened butter until smooth This helps everything blend evenly Add both sugars the egg and vanilla essence and beat until fully combined The mixture should be glossy and free of lumps
- Incorporate the Dry Ingredients:
- Sift flour salt baking soda and cornflour right over the wet base Gently fold using a large spatula until you see no streaks of flour The dough is supposed to be soft yet thick
- Chill if Needed:
- If your dough is sticky or warm let it rest in the fridge or freezer for several minutes until it firms up a bit This makes rolling easier and helps the cookies hold their shape
- Preheat the Oven:
- Set your oven to one hundred seventy degrees Celsius with the fan setting lined tray ready to go
- Shape the Cookies:
- Scoop dough into ball shapes about two tablespoons each and line them up on baking paper Leave space as they will spread Press each ball down gently with your fingers
- Bake to Golden:
- Slide the tray into your preheated oven Bake for twelve to fifteen minutes The edges will turn golden but the centers should remain soft Let them rest on the tray for ten minutes before moving
- Place the Maltesers:
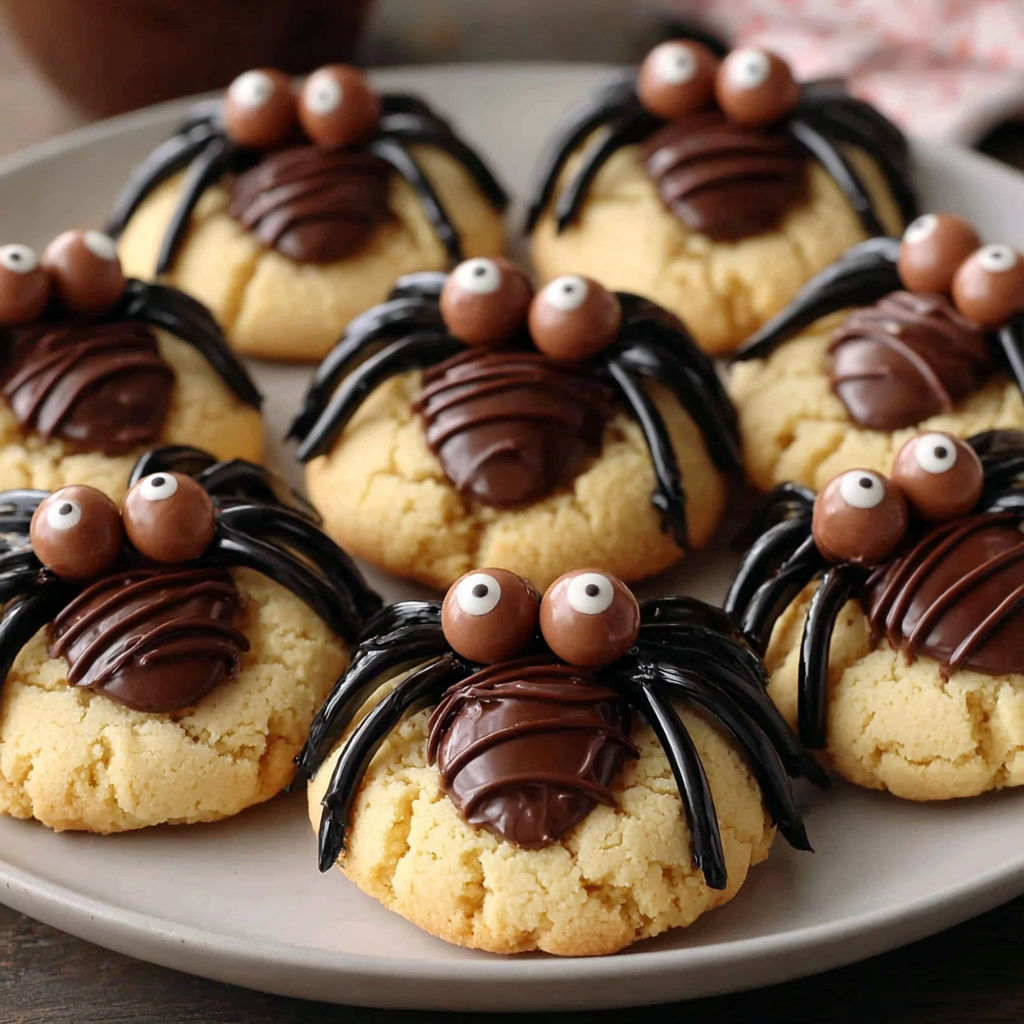
- While the cookies are warm press two Maltesers into each one Side by side they form the spider body Press gently so they stick but do not split the cookie
- Cool Completely:
- After a short tray rest transfer all cookies to a wire rack This keeps the bottoms crisp as they cool
- Melt and Bag the Chocolate:
- Fully melt your dark chocolate in a microwave short bursts work best Pour it into a small ziplock and snip a tiny corner
- Pipe the Legs:
- Use your homemade piping bag to draw four chocolate legs on each side of the Malteser body Try to taper them for a creepy effect
- Add Spider Eyes:
- Dot white icing for two big watchful eyes on each spider then spot a touch of melted chocolate onto each for round pupils
- Let the Decoration Set:
- Give all cookies time for the chocolate and icing to harden before serving This keeps the spiders intact
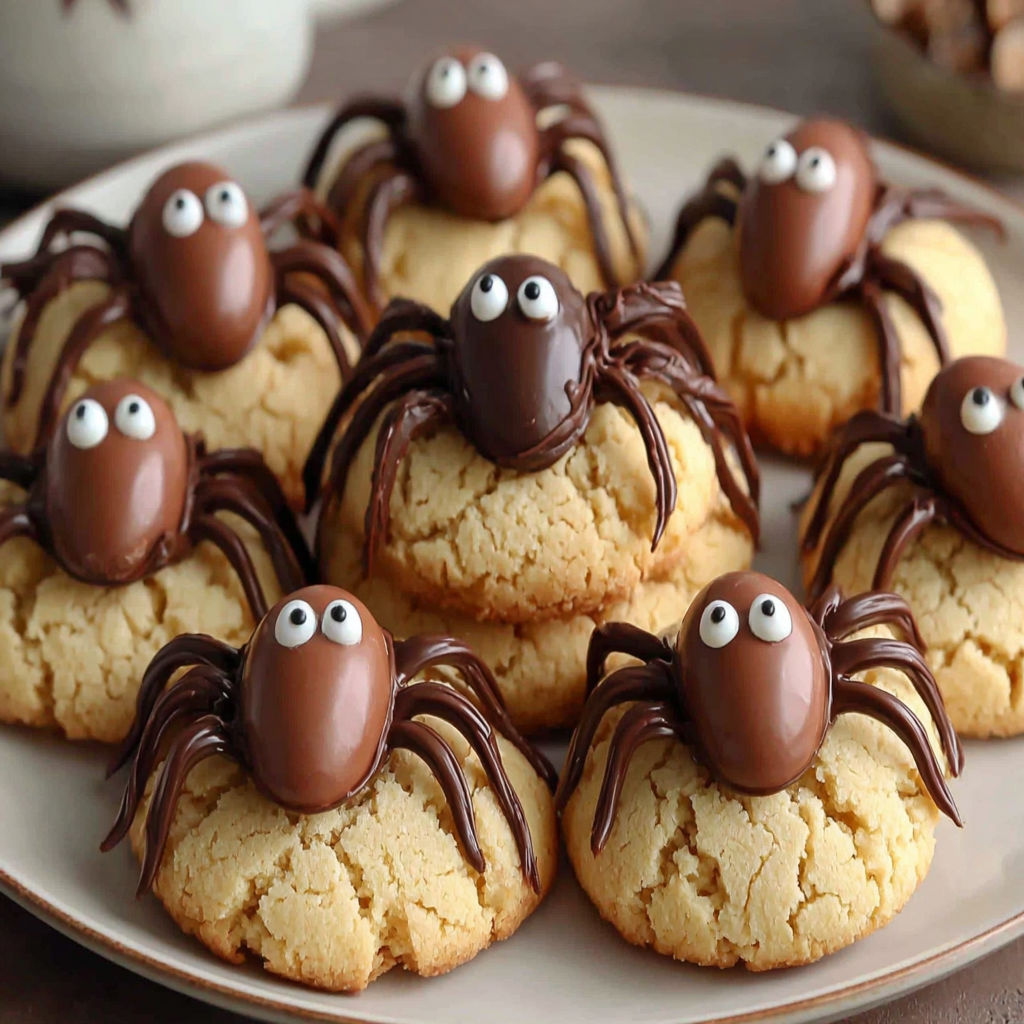
The Maltesers really bring these spiders to life I always love how their chocolate shell shines on the warm cookies reminding me of how excited everyone gets to see the finished tray set out for a Halloween movie night
Storage Tips
Keep these cookies in an airtight container at room temperature and they will stay soft for days If you want to prep ahead bake the cookies and decorate the day of your event for the freshest results Sometimes I pop them in individual treat bags for school parties and they hold up beautifully
Ingredient Substitutions
If you cannot find Maltesers try Whoppers or even round chocolate truffles For the legs melted milk chocolate or even a chocolate icing can work If white icing is not available you can use a dot of marshmallow fluff or even softened white chocolate
Serving Suggestions
These cookies make a perfect centerpiece for a Halloween dessert tray Pair them with other seasonal treats like caramel apples or pumpkin bread If you like a little salty contrast include some pretzel sticks on the side for a playful snack table
Cultural and Seasonal Context
Spider cookies have become a modern classic in Halloween celebrations across many countries I have found that families love recipes that invite creativity and these cookies give everyone a chance to decorate and personalize No two spiders ever look exactly alike and that is part of the fun
Seasonal Adaptations
You can use colored icing or edible pens to give your spiders silly faces Try orange candy balls or mini peanut butter cups if you want a twist on the bodies Add a pinch of cinnamon to the dough for a subtle autumn flavor
Success Stories
I once brought a double batch of these cookies to a costume party and not a single one was left Kids and adults were equally delighted They are the kind of cookie you remember year after year Always keep extra Maltesers on hand because you will want to make another batch soon
Freezer Meal Conversion
You can freeze undecorated baked cookies for up to two months Just thaw and decorate before serving I also sometimes freeze the dough rolled into balls so I am ready for last minute party prep
These spider cookies always spark joy at Halloween gatherings and disappear quickly from the dessert table. Have fun with the decorating and enjoy every bite!
FAQs about Recipes
- → What are the key ingredients in Halloween Spider Cookies?
These cookies use butter, brown sugar, white sugar, egg, flour, Maltesers, dark chocolate, and icing for spooky decorations.
- → How do you create the spider effect on the cookies?
Melted dark chocolate is piped as eight legs around Maltesers, then two icing dots are added for eyes, finishing with chocolate pupils.
- → Can I use a different chocolate for decorating the spiders?
Yes, you can swap Maltesers for similar chocolate candies and use milk chocolate instead of dark if preferred for piping legs.
- → How long should I bake the cookies?
Bake the cookies in a preheated 170°C fanbake oven for 12 to 15 minutes, until golden but still soft in the center.
- → What's the best way to store the finished cookies?
Store the decorated cookies in an airtight container at room temperature for up to one week to keep them fresh.
- → Can children help with the decorating process?
Absolutely! Kids enjoy adding Maltesers, piping chocolate legs, and dotting icing eyes to create their own spooky spiders.